How to set up your Premium Volunteer Form
Your Premium Digital PTO website comes with a number of forms (this varies whether you have selected Premium or Premium Plus). This tutorial will walk you through the quick steps to set up your Volunteer form. The form is already built and installed for you, but you will need to determine where the email notifications are sent as well as which volunteer categories you wish to offer.
Important Info: When your forms are installed, you need to be sure to verify where the email notifications are sent. This is very important. This tutorial will explain that process. Please follow the steps below to ensure your forms are set up correctly.
Customize Your Options and Settings
Our Premium Volunteer forms are pre-built for you, but you are welcome to customize your form in any way you see fit. We have added a number of default volunteer categories for you, so you will need to review these categories and adjust them according to your school’s needs.
Please feel free to add fields, move things around and change your forms. You can also adjust the email notifications and messages that are sent after forms are submitted.
The tutorial below will cover some of the basics you can adjust. Please see our additional form tutorials to learn some more specific settings.
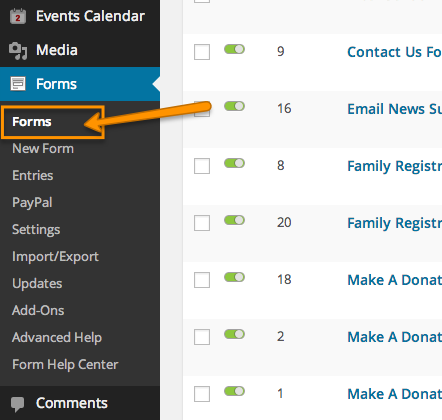
Step 1: Click on FORMS in the Forms Menu
Step 2: Click the Title of the Volunteer Interest Form

Step 3: Review Contact Info Section

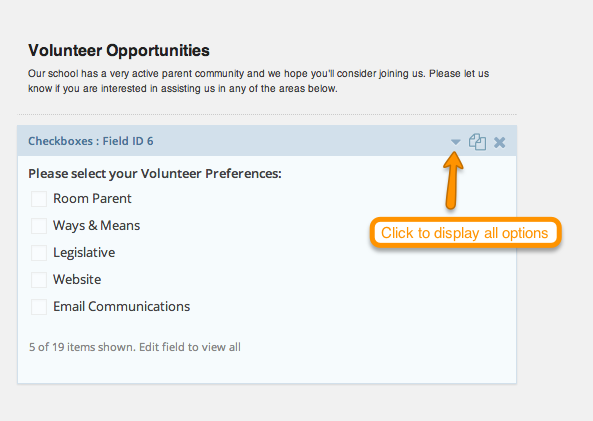
Step 4: Open Volunteer Opportunities List
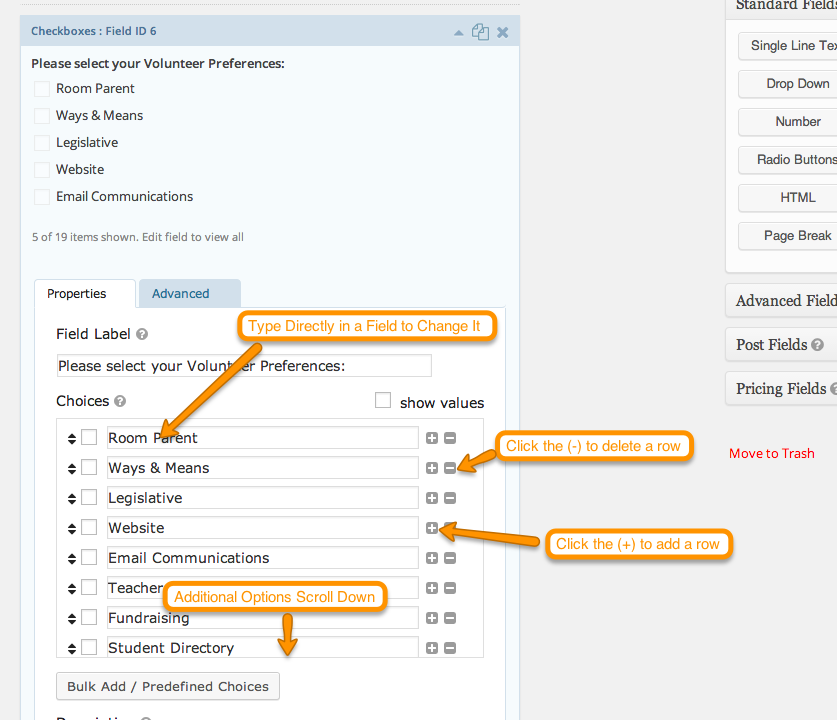
Step 5: Edit the Volunteer Opportunities
Step 6: Update your Form

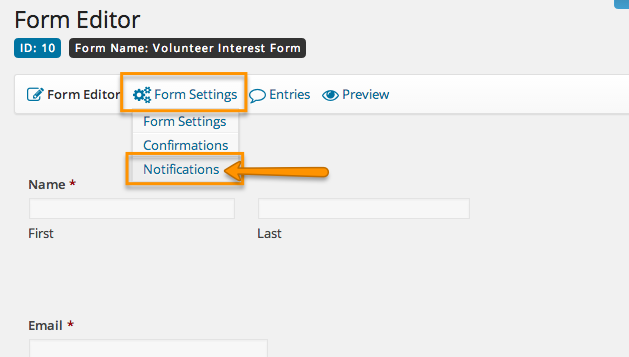
Step 7: Setting up your email notifications
Step 8: Click EDIT under Admin Notifications

Step 9: Specify SEND TO Email address

Step 10: Select FROM EMAIL
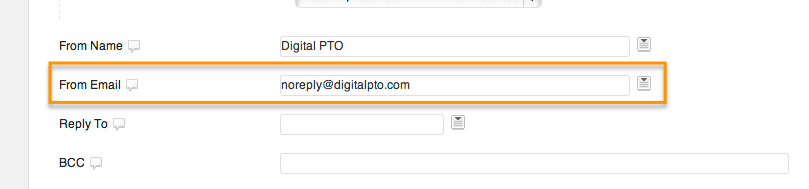
The REPLY TO field is below the FROM email and this is where you can enter your groups email address so that if a user replies to the email, it will go directly to your groups email address.
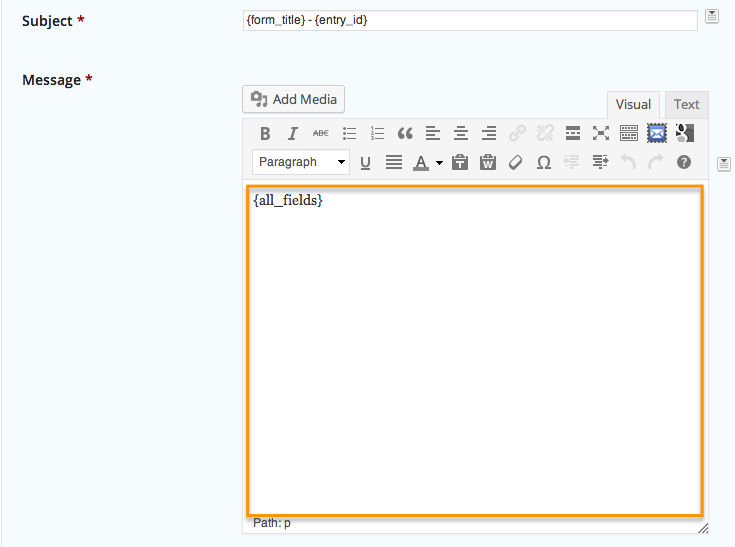
Step 11: Review your Message
Step 12: Click UPDATE NOTIFICATION

Step 13: Edit / Create User Notification

Step 14: Select SEND TO Address
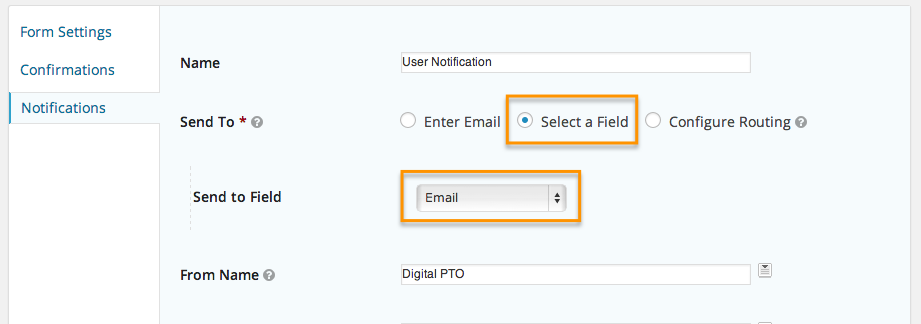
Step 15: Specify Name and From Email

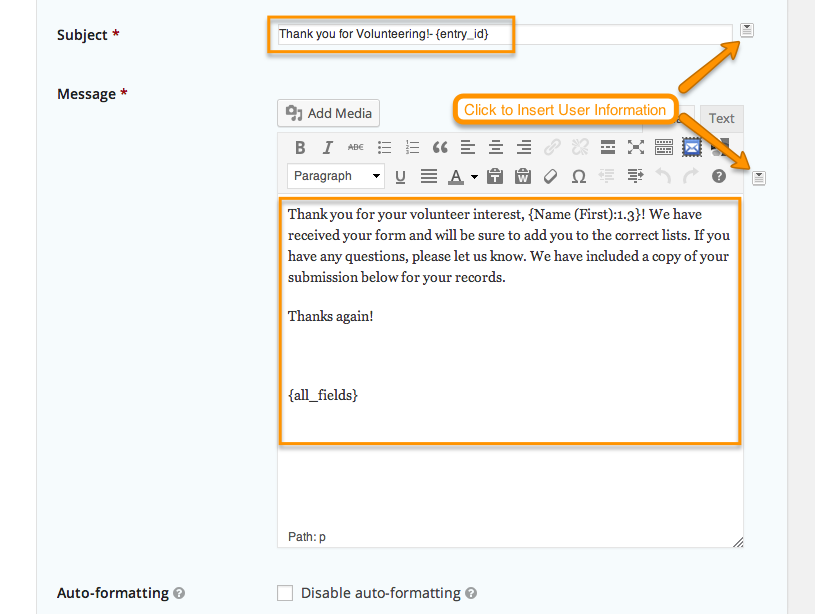
Step 16: Verify Subject Line and Message
Step 17: Click UPDATE NOTIFICATION
Step 18: Click on CONFIRMATIONS
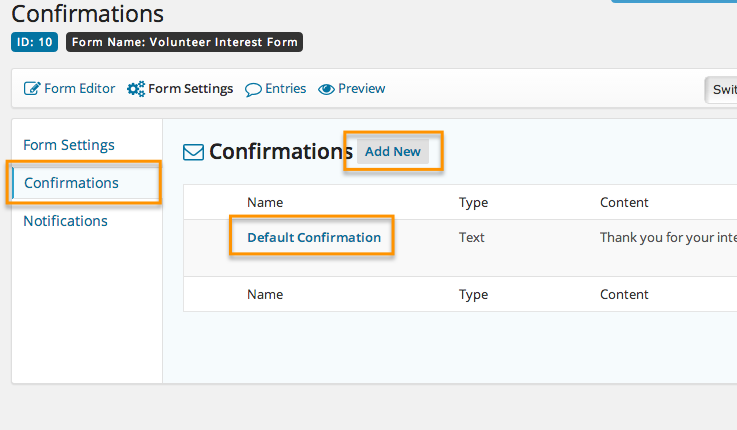
Step 19: Select TEXT, PAGE or REDIRECT
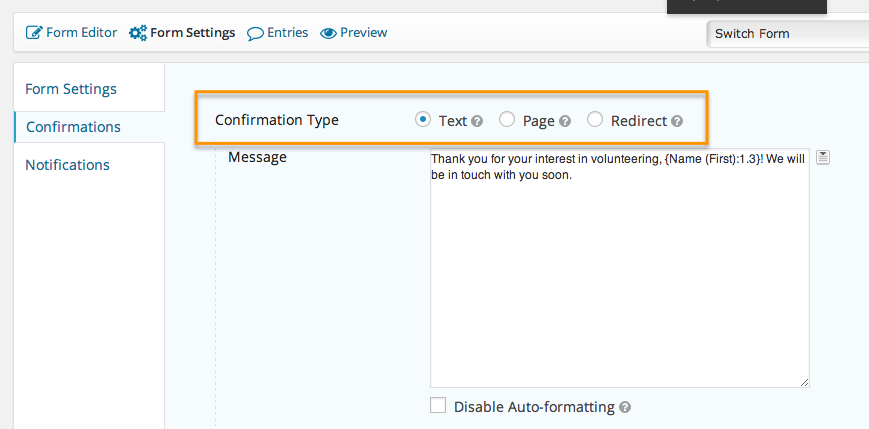
Step 20: Enter Confirmation Message and Update

There are additional variables and fields available to you and you are welcome to explore the additional options. This tutorial does not cover them all, but covers the most important steps in setting up your forms. Want to learn more? Click to learn about On Screen Confirmations , User Email Notifications and Admin Email Notifications.
