How to Set up your Admin Email Notifications on Forms
Digital PTO offers a wide variety of Pre-Built Forms for our Premium Members. When we install forms on your website, they come ready to go, but you may want to customize certain elements of your form. One of the great areas to customize is your email notifications. These settings will allow you to change where the form submissions are sent, what they say and who gets them.
This tutorial will show you how to set up your admin notification emails, which are the emails that your group receives when a user submits a form. It is typically a summary of the submission, but that is up to you.
Note: If you are collecting credit card payments directly on your forms you need to refer to the Wufoo Directions for this information.
Click FORMS under the FORMS Menu

Click the Title of the Form you wish to set up

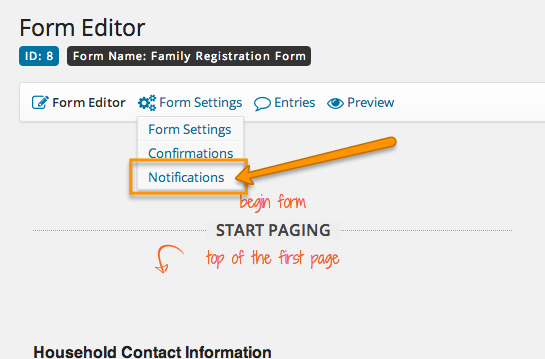
Click to access Email Notifications
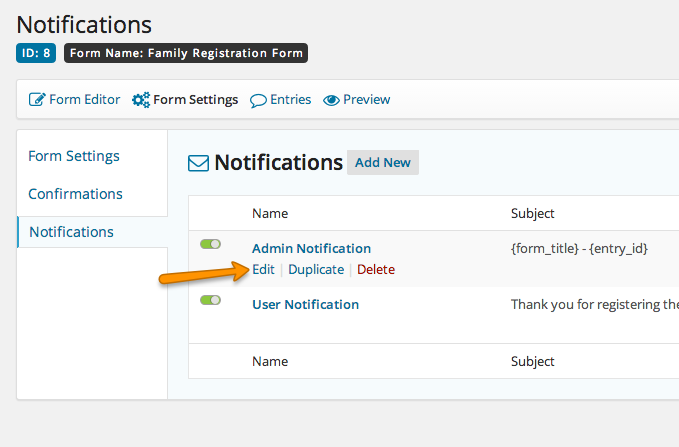
Click EDIT under the Admin Notification Settings
The Options Screen

Name
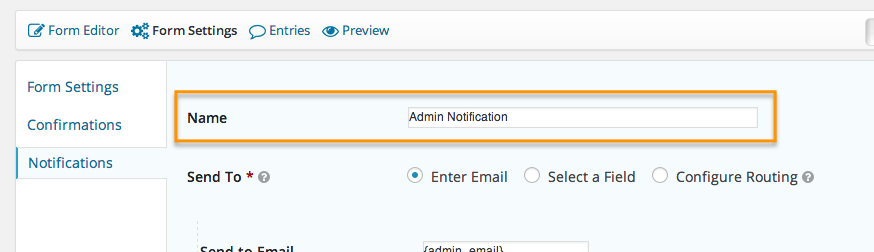
Send To:
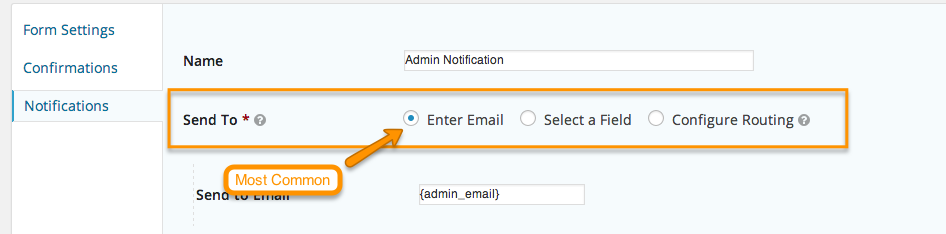
Send To: Enter Email

You can also enter {admin_email} and this will send email notifications to the admin email for the website. In most cases this is your default setting.
We HIGHLY recommend that you set up a gmail.com account for your group and have notifications sent to that address.
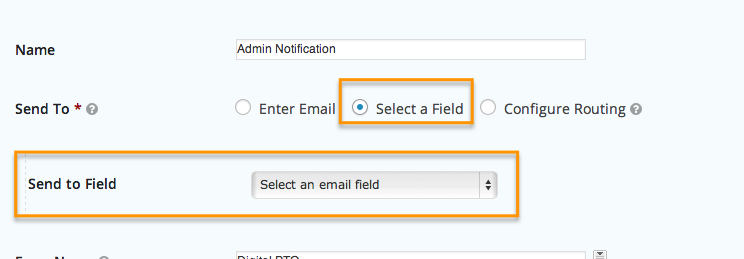
Send To: Select a Field
Send To: Configure Routing

To set this up, click CONFIGURE ROUTING in the Send To options. This will open up new fields. Send to (blank) where the blank is the email address you want to send a message to. IF and then select one of the options on your website. Then select IS, ISN’T, etc and a value. If you need to add more rows (rules) click the PLUS sign. The Minus sign will delete un-needed rows as well.
From Name
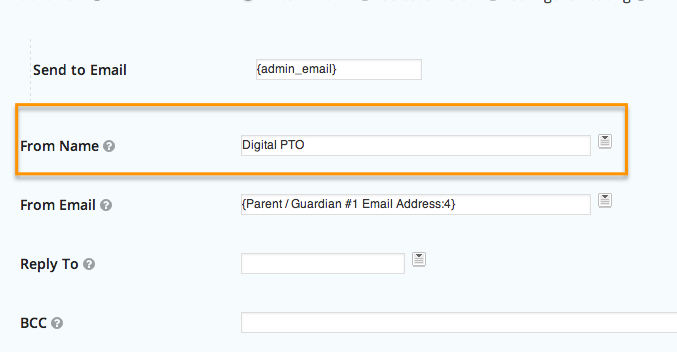
From Email
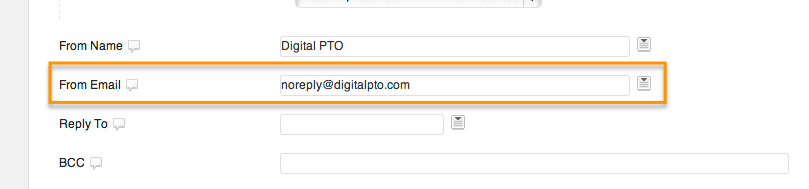
Reply To
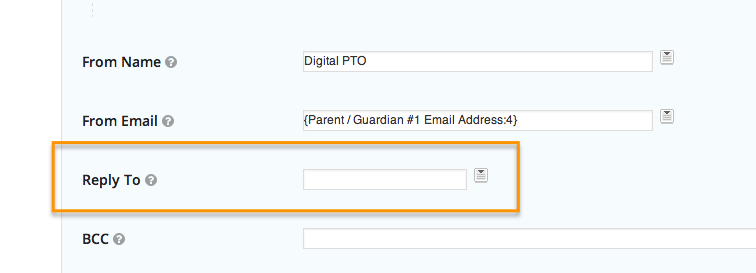
BCC
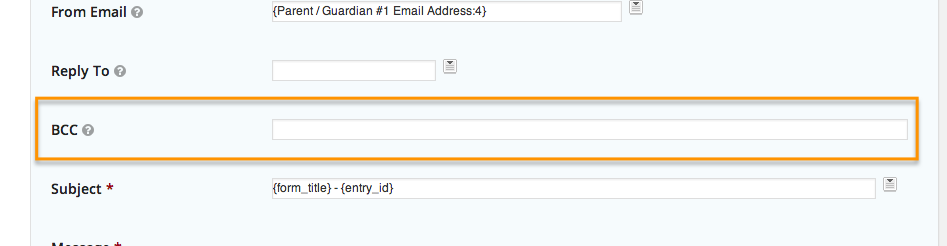
Subject Line

Notification Message

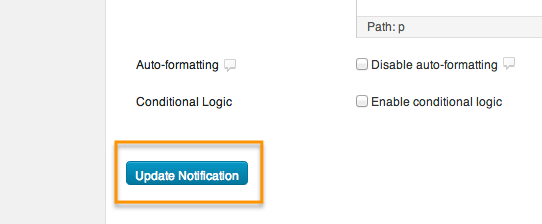
UPDATE NOTIFICATION