Links Widget

Adding and Editing the Links in your Sidebar

Your Digital PTO website comes with a few sample links built in as place holders. You will want to update those based on your PTO / PTA’s needs. This tutorial will explain how to add, edit and delete links. For more information on moving the links around, please see ourtutorial on Widgets. Links can be very helpful for your community. You can link to your school’s website, to the lunch menu for the month, to educational resources or tools and more.

What is does

live-links

The Links Widget allows you to display the links you have set up (LINKS Menu) in your sidebar. You can select different link categories or specify one specific category.

Settings

edit-links

There are a number of settings for the Links Widget. You must have links set up in your Links Manager (LINKS menu) for this to be of use to you.

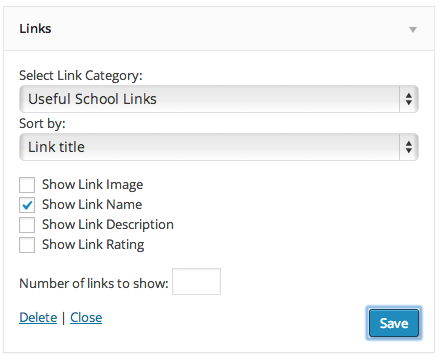
Select Link Category: You can select ALL LINKS or specify a specific link category.

Sort by: You can sort by Link Title, Link Rating, Link ID or Randomly.

Show Link Image: If an image was assigned to the link, it will show. Not suggested.

Show Link Description: This will display any description you added for the link to the sidebar.

Show Link Rating: If you have rated your links, this will show the rating the link has received.

Number of Links to Show: Leave it blank to display all, or enter a number to limit the display.

All other settings will be controlled in the LINKS menu of your website.


Working with the LINKS interface

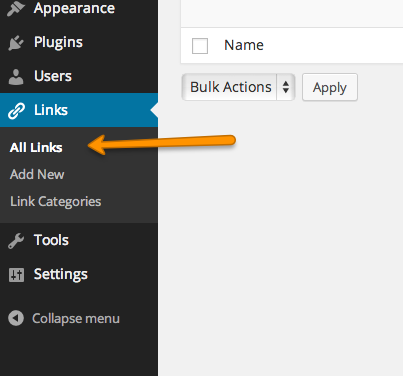
Access via the LINKS Menu Item
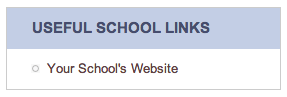
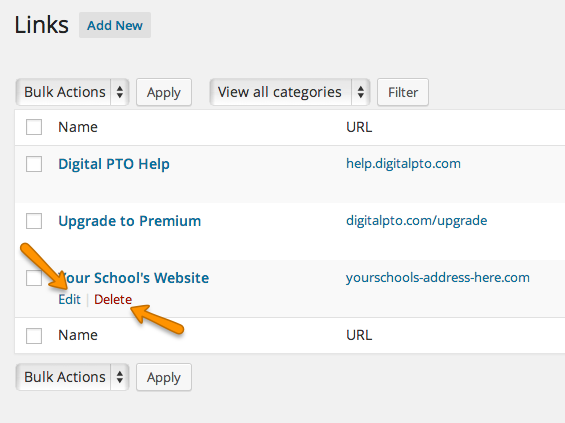
links-menu
Click the LINKS Menu Item in the Left Navigation Menu to view your list of links

Your List of Links

listoflinks
When your LINKS page loads you will see a list of all the links you have. You will see the Link Title, The Link Destination (URL) and the Category the link is assigned to. By default, we have set your website to display links in both the Digital PTO Help category and the Useful School Links category.

Working with Link Categories

link-categories
If you would like to edit and add to your Link Categories, click LINK CATEGORIES under the links menu. This will bring you to a screen that allows you to add new categories and edit your existing categories. Hover over any existing Category to edit or delete it. The Link Categories are how your links are organized, and in the Links Widget you can display specific Categories.

Editing Existing Links

edit-links-indiv
If you would like to edit a link that you have already created, click the TITLE of the link and you will be brought to an editing screen. If you would like to DELETE a link, hover the link you want to delete and a red DELETE link will appear.

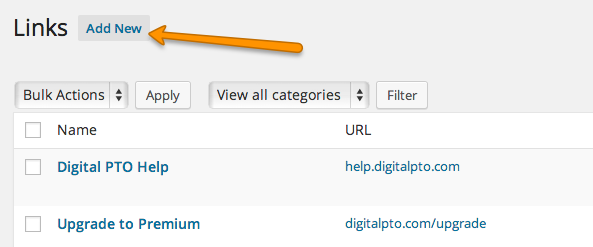
Step 1: Adding a New Link – Click ADD NEW

add-new
To add a new link, click the ADD NEW button

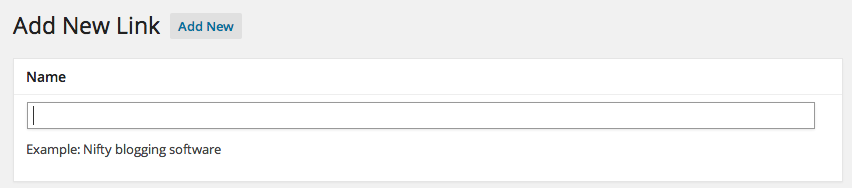
Step 2: Enter the Name for your Link

name
Enter the Name of your Link. This will be what your visitors see, so keep this display name short if possible.

Step 3: Enter the URL (Website Address) for your Link

url
Paste or type in the URL of the link. Remember to include the http:// postion of the link.

Step 4: Select the Category for your Link

category
Selecting a Category for your link will allow you to control where and when your link is displayed and with what other links. Check the box of the category you wish to assign to this link, or click ADD NEW CATEGORY to create a new category.

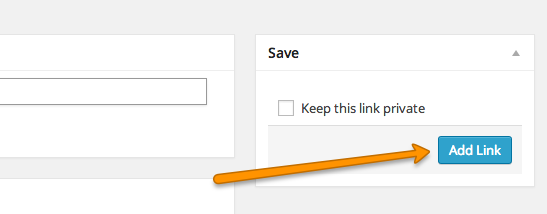
Step 5: Click Add Link Button

add-link
There are additional link options that you can play with on your own, and when you are finished adding your link, click the ADD LINK button on the right side to save your new link.