Adding Google Analytics Tracking to your Website
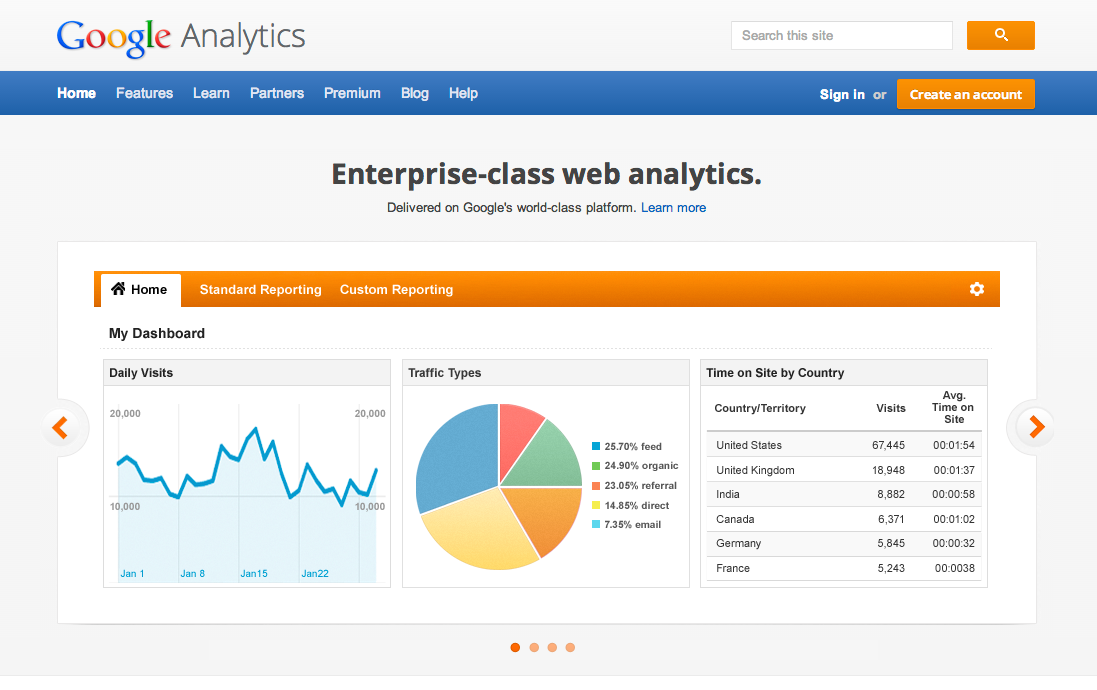
Many of our more advanced PTAs and PTOs are adding Google Analytics tracking to their website so that they can not only see where their visitors are coming from and going to, but also as a sales tool for prospective online advertisers from their community allowing them to ultimately sell advertising on their websites. This quick tutorial explains how to integrate google analytics with your website.
Step 1: Set up Google Analytics
If you do not have a Google Analytics account set up for your PTA/PTO yet, you will need to do that first. Start a Google Analytics Account Here. You can either log in with your google account, or create a new google account. Follow all of the instructions and when you have completed registration, proceed to step two. You do not need to copy the code that google may have given you.
Step 2: Click on the ADMIN link

When you have logged into a google Analytics website profile, you will see an ADMIN tab to the right. Click that.
Step 3: Click on TRACKING INFO
![]()
In the PROPERTY section of your admin screen, you will see a Tracking Info option. Click that. When that expands, click TRACKING CODE
Step 4: Copy your Tracking ID
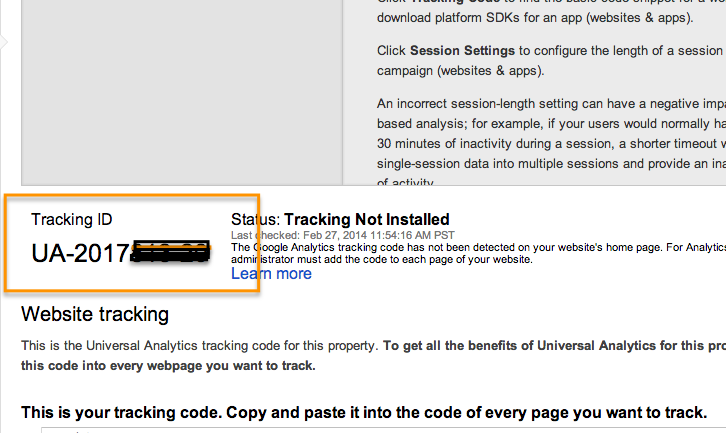
When you have logged into a google Analytics website profile, you will see an ADMIN tab to the right. click that and then you can find your Property ID 9Tracking Code) that you will need. It looks something like: UA-XXXXX-X – Copy your Code.
Step 3: Paste the Code on your Site

Go to SETTINGS > GOOGLE ANALYTICS. Paste the tracking code into the field and click SAVE CHANGES. In a day or so you will start to see your analytics data. You do not need to adjust any other settings in this area.
An Additional Option
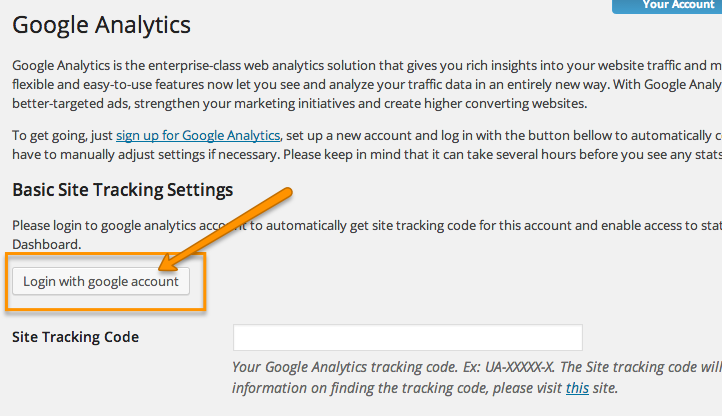
If you have access to the Google account that controls your analytics, you can also click the LOGIN WITH GOOGLE ACCOUNT button and then select your website from a drop down list if you would prefer.
