How to Add Color to your Graphene 2.0 Navigation Menus
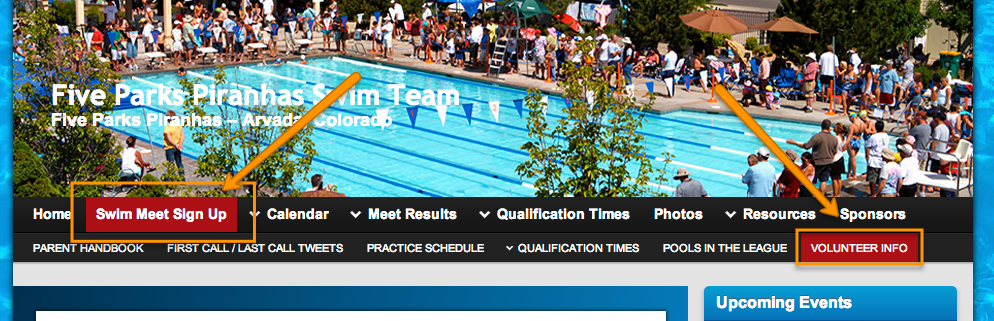
The Graphene 2.0 theme offers a beautiful menu structure, but it’s all one color. What if you wanted to highlight one part of your menu, maybe the Volunteer link for example? You can do that with just a little bit of customization! This tutorial will explain how. Note: This is designed to be performed on the Graphene 2.0 Theme
Step 1: Add your Custom CSS
If you don’t know what CSS is, that’s ok, but this could be a little trickier. Feel free to use our example to achieve the same results. CSS stands for Cascading Style Sheets and it dictates how your website will appear. We are going to add a little custom CSS code to change the look of our site.
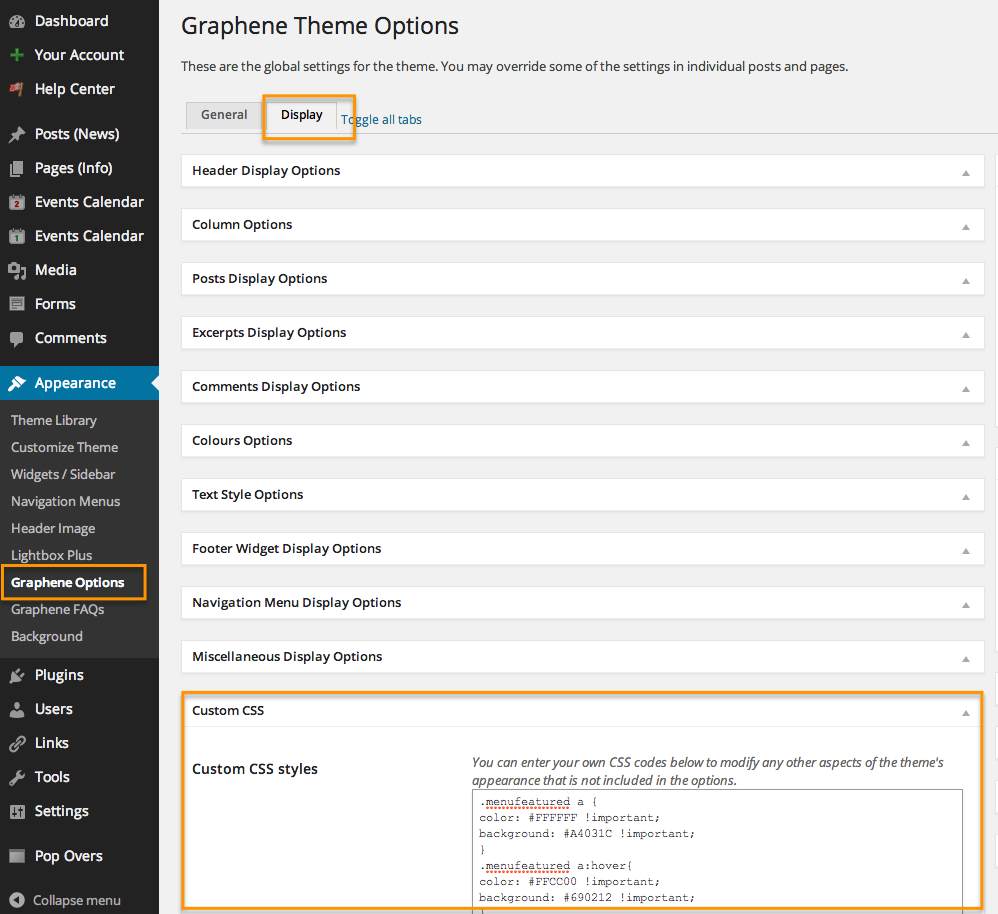
Goto APPEARANCE > GRAPHENE OPTIONS. Then click on the DISPLAY Tab. Scroll down to the CUSTOM CSS section and expand it by clicking on it. This is where you want to paste your custom CSS. If you know how to write CSS, go ahead and paste your code there. If you want to use ours (will turn the link RED) we have added the following code:
.menufeatured a {
color: #FFFFFF !important;
background: #A4031C !important;
}
.menufeatured a:hover{
color: #FFCC00 !important;
background: #690212 !important;
}
Step 2: Go to Menus and Open Screen Options

You will need to turn on the ability to assign custom CSS to your menus, it’s hidden by default. Go to APPEARANCE > MENUS and then in the top right of your screen click the SCREEN OPTIONS grey button. This will open up the options.
Step 3: Turn on CSS Classes
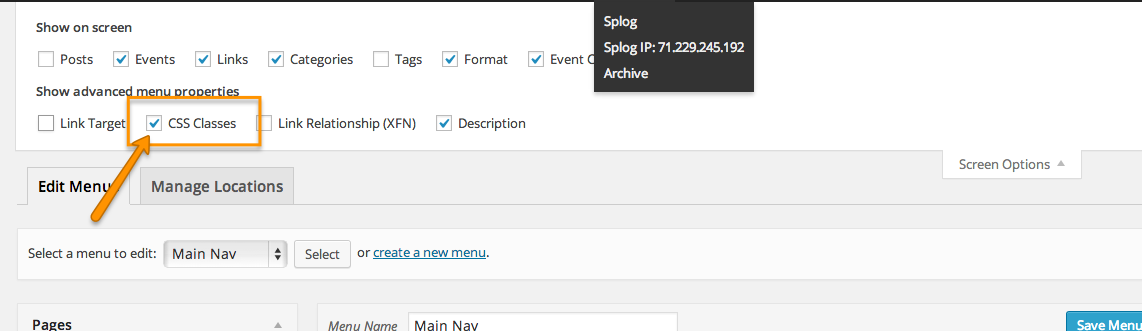
When the screen options open, click the box next to CSS Classes to activate it. Then click the SCREEN OPTIONS Button again to save the settings.
Step 4: Add CSS Class to your Menu Item
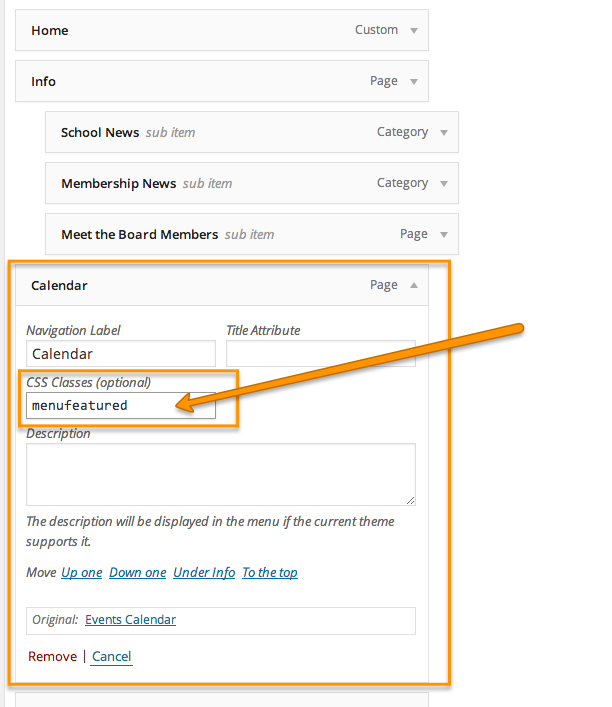
Go to the Menu item that you wish to add your custom CSS to and expand it by clicking the downward arrow to the right. You will see a new field called CSS Classes. Enter the CSS there. In our case, we are adding the “menufeatured” class, so we paste that in the CSS Class field.
Step 5: Save your Menu
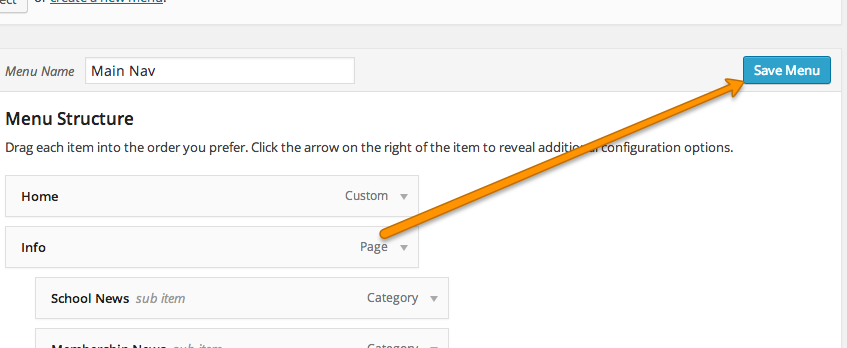
The final step is to save your menu and review it. Tada! You did it.
