How to set up your Volunteer Sign Up Sheets
Premium Plus Plan Members have the ability to allow users to sign up for volunteer events and tasks right within your Digital PTO interface. Unlimited sign up forms that can be date specific or non dated based on your specific volunteer needs.
This is a Volunteer Sign Up Platform, not a Volunteer Manager
Please be aware that this product is in BETA release and there may be bugs here and there. This is to be expected. Also please note that this is not a Volunteer Manager (i.e. tally up hours, reports, etc), this is a Volunteer Sign Up plugin and it handles sign ups for activities very well. If you need a more advanced Sign Up Manager, we suggest looking at both Sign Up Genius and Volunteer Spot (Signup.com)
Step 1: Activate the PlugIn

If you have not yet activated the plugin, this is the first step. Go to PLUGINS > ALL PLUGINS and then find the Online Volunteer Sign Up Plugin and click the ACTIVATE link.
Step 2: Click SIGN-UP SHEETS

Click the new SIGN-UP SHEETS menu in your Admin Navigation.
Step 3: Click the SETTINGS sub menu
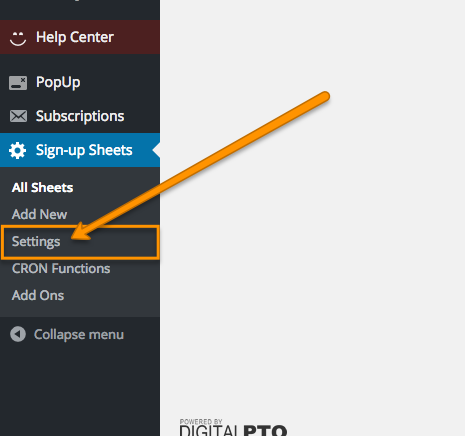
Click on the SETTINGS sub menu under the Sign Up Sheets menu.
Step 4: Follow Along Carefully!
It is extremely important that you follow along with the next steps in full. This product is still in Beta Testing so some features have not yet been tested, but if you use our suggested settings, everything should work wonderfully.
Step 5: Select Your Volunteer Page

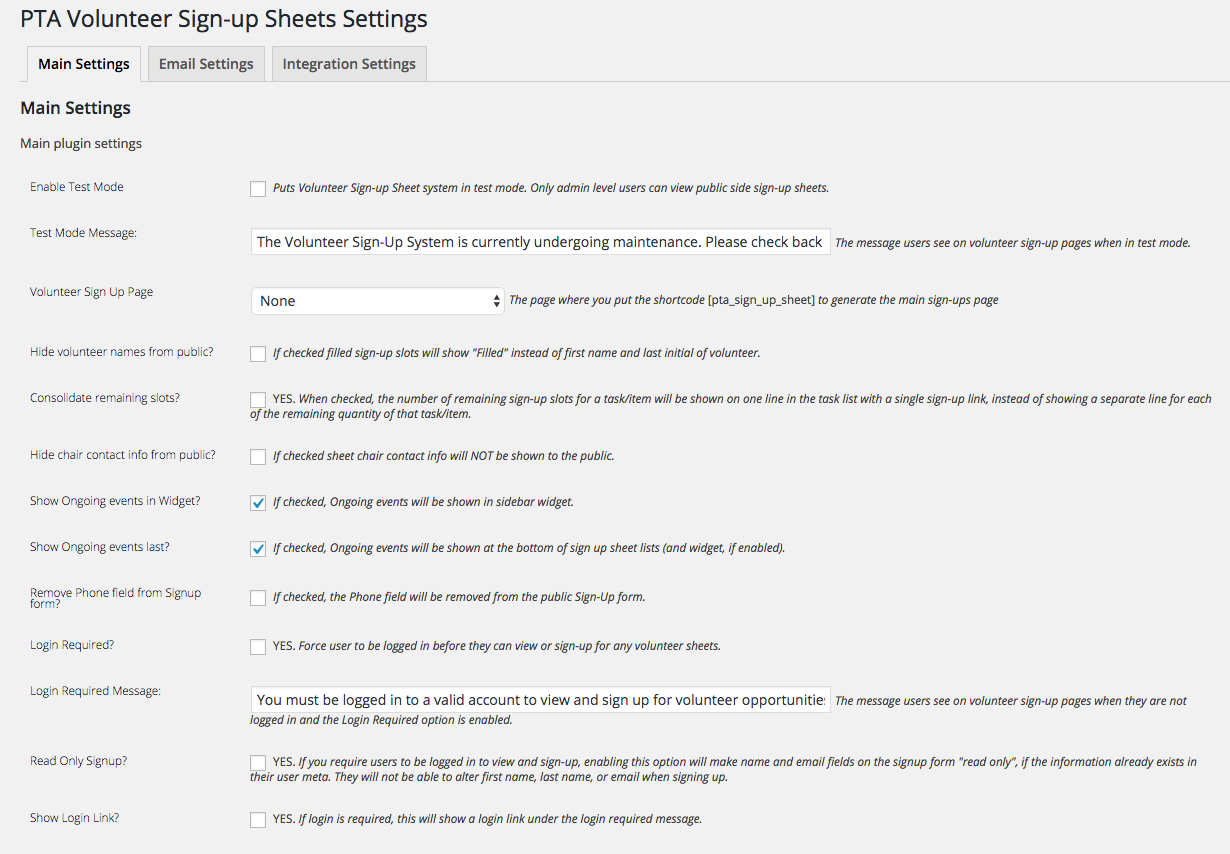
The first setting you will want to adjust is your VOLUNTEER SIGN UP PAGE. By default it is set to none, but in most cases you will want to change that to your Volunteer page (or a new one specifically for sign ups if you’d like). Select your Volunteer Page and continue on.
Step 6: CONSOLIDTE REMAINING SLOTS

We highly suggest that you check the CONSOLIDATE REMAINING SLOTS option as it will make your sign up pages look much cleaner.
Step 7: Select Other Option Preferences

There are a few other options you can turn on or off based on your needs. Most common is the ability to hide the name of the chair to the public and the other one removes (or adds) a phone number field in the volunteer sign up form.
Step 8: Do Not Change Login options, etc

Do Not Change any settings between LOGIN REQUIRED? and LIVE SEARCH TABLES. These are untested and unusable features in most cases and should not be changed.
Step 9: Turn Off Donation Button
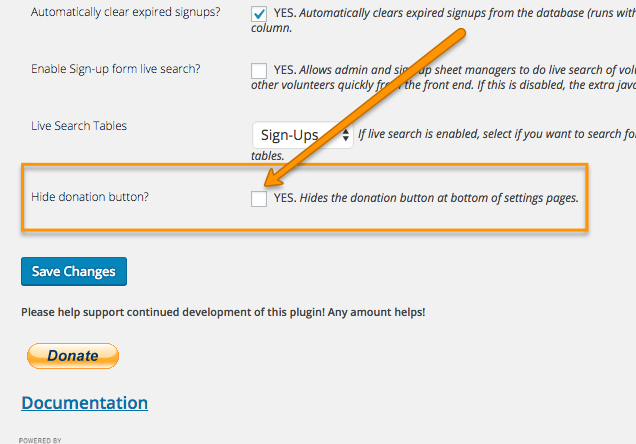
It’s up to you, but we like to turn off the donation button that was built in by the developer. To turn that off, click the HIDE DONATION BUTTON? box.
Step 10: Save your Changes

As always, SAVE your changes and move to the next step.
Step 11: Click Email Settings
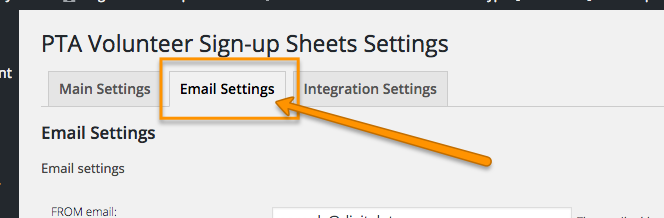
Once your page has saved, click on the tab up top called EMAIL SETTINGS.
Step 12: VERY IMPORTANT email settings
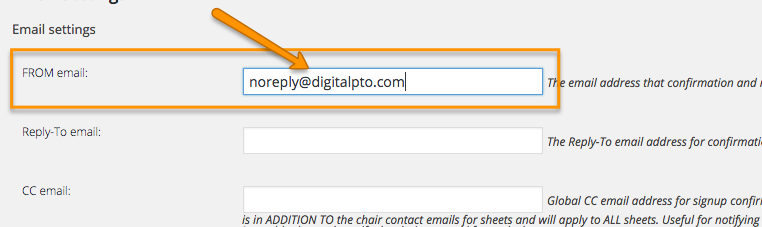
It is crutial that you change the FROM EMAIL to “[email protected]” – do not use any other address or your email will not be delivered to many of your volunteers.
Step 13: Enter a Reply Email
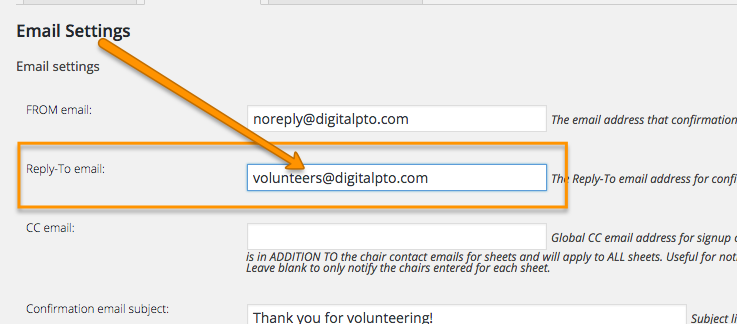
This is where you can customize the address that will be used if one of your volunteers replies to an email from the system. It is best to use your groups email address here or the address for the volunteer coordinator (at least in most cases)
Step 14: Edit Email Templates if Desired
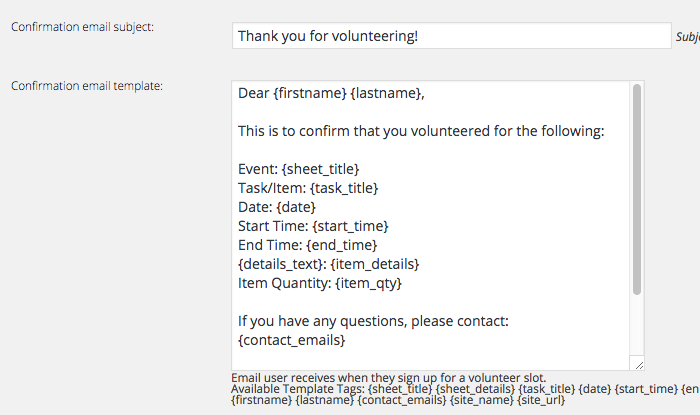
If you would like to change the email templates that are used for the automatic emails, you can do so as needed. When you are finished, be sure to SAVE your changes!
Step 15: Save Changes
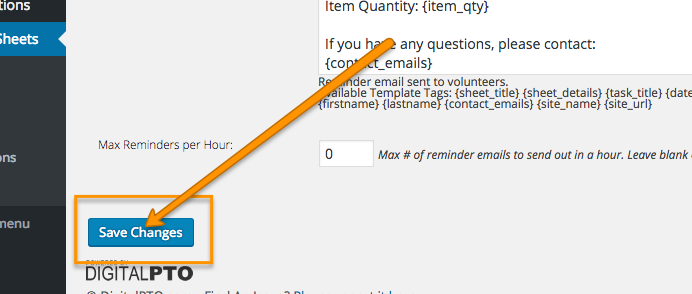
As always, be sure to click the SAVE CHANGES button to lock everything in. CONGRATS! You have now set up the options and settings for your new Volunteer Sign Up Sheets!
Step 16: Add your Sign Up Sheets to your Website
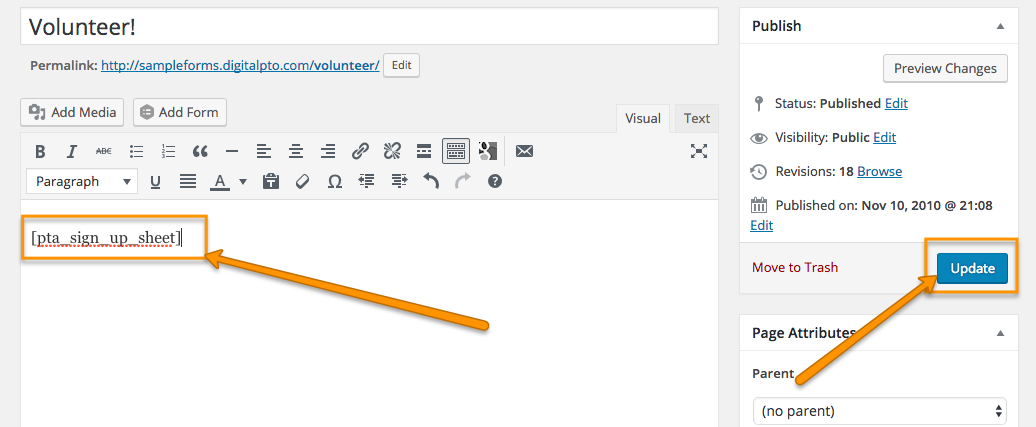
Go to the page that you want to add your sign up sheets to and erase any unneeded content, then paste in the code ” [pta_sign_up_sheet] ” (no quotes) and then UPDATE. Tada! You’re done!
