How to use your Standard Calendar on your Website
Digital PTO Starter and Basic Plans have access to our Standard online events calendar. Your events calendar can be used to add meetings, events, reminders, important school dates and more. This is the most basic of our three calendar offerings.
This is the Standard Events Calendar
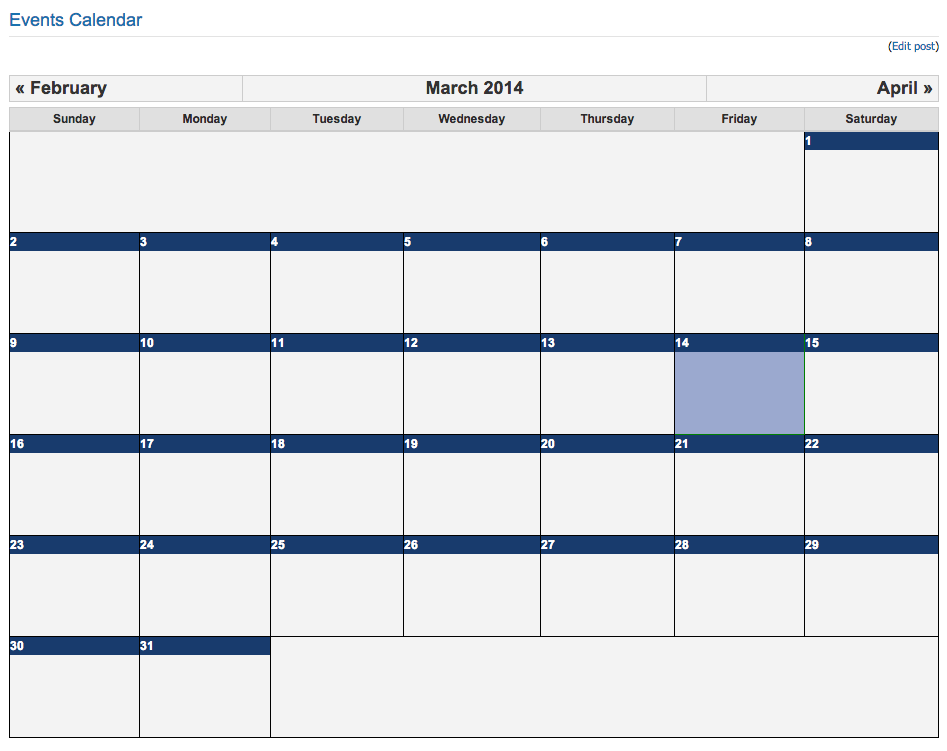 This is the Standard Events Calendar. Digital PTO offers three completely different calendar system, so it’s important to know which calendar each tutorial is referring to.
Step 1: Verify that your Calendar is activated
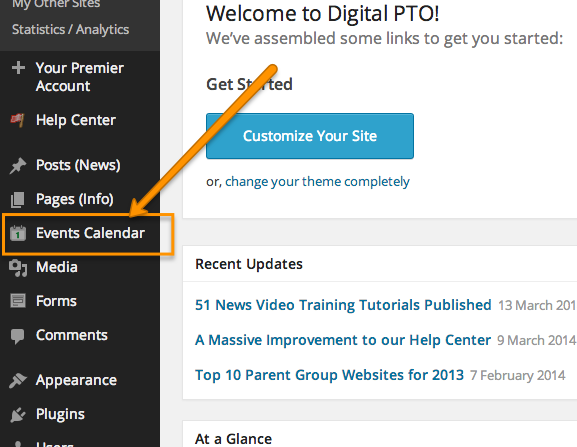
Do you need to activate your calendar?

Step 2: Open the Events Calendar
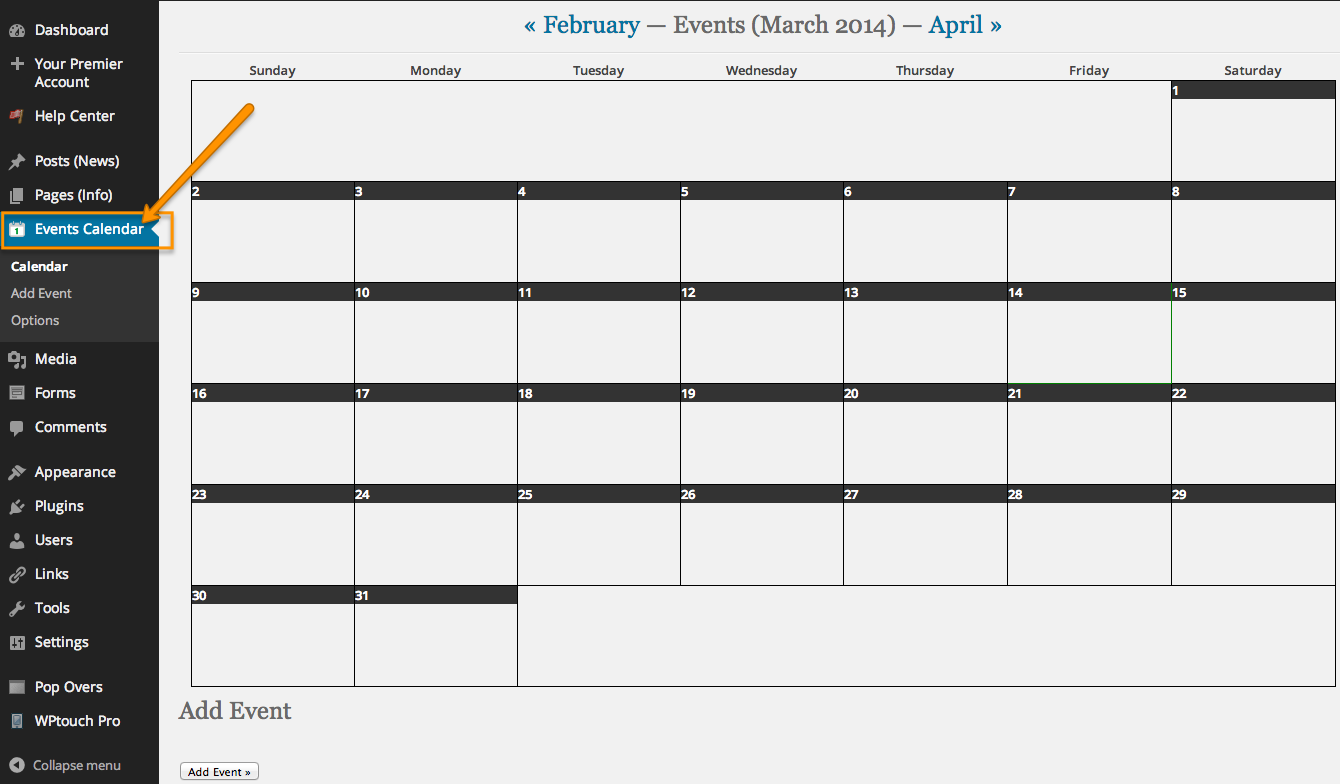
Step 3: The Overview Calendar

Hovering over items in your events calendar will show you the event details. You can click on the event to edit the information on an existing event.
Step 4: Adding a New Event

TITLE: Enter the title of the event. Keep this short if possible as this will be the title on the calendar and may get truncated if it is too long.
LOCATION: This is an optional field. If you have a specific location that you would like to mention (for example the School Library) you can enter that here.
LINK OUT: This is an optional field. If the event you are adding has a website link (outside of your Digital PTO website) you can add that link here.
DESCRIPTION: This field is optional, but we HIGHLY suggest you populate this field with some basic information about your event if it is not obvious.
START DATE: This is the date of your event. More than likely your event is a one day event, so the start date can also be considered your “event date”. Please enter the date in this format: 2011-05-01 (for May 01, 2011).
START TIME: This can be left blank if you want the new event to be listed as ALL DAY. If you have a specific start time, please enter it here. PLEASE NOTE, the events calendar uses 24 hour time, so a 7 pm meeting would be entered as 19:00 in the time.
END DATE: Leave this field blank unless your event is more than one day long.
END TIME: If you have a specific ending time you want to post, you can enter that time here. Again this is 24 hour time, so a 9pm ending would be entered as 21:00
VISIBILITY LEVEL: If you want this event to appear on your calendar, keep this set as PUBLIC. Other options will hide the event from your website visitors.
CREATE POST FOR EVENT: If you would like to have a News Post created for this event (that will appear in your list of news on the home page) click this box and a post will be created in addition to the event on the calendar. This will allow you to provide even more information on your event if you wish to do so.
WHICH POST STATUS? If you create a news post for your event, this allows you to keep your post in DRAFT status to that you can edit it later before making the news post live. If you want the news post to publish immediately, change the option to PUBLISH.
When you have finished entering your events information, click ADD EVENT and it is live and on your calendar.
Editing or Deleting Events

To delete an event, find the event you wish to delete in the master calendar and click the RED X next to the event and it will be deleted.
