eCommerce is currently undergoing Beta Testing and is not available to all users. These instructions are for our Beta Testers at this time.
Digging into the settings
Now that you have installed the plugin, it’s very important that we move right on to customizing the back end settings. These settings will control basics like Type of Currency as well as handle email notifications, tax rules and shipping. By default, these settings are set for Europe, so you WILL NEED TO CHANGE them before your store is completely set up.
Go to ONLINE STORE > SETTINGS
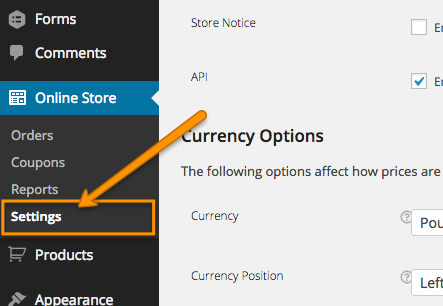
go to Plugins >Navigate to ONLINE STORE > SETTINGS to access the Global Settings for your store.
The GENERAL Tab
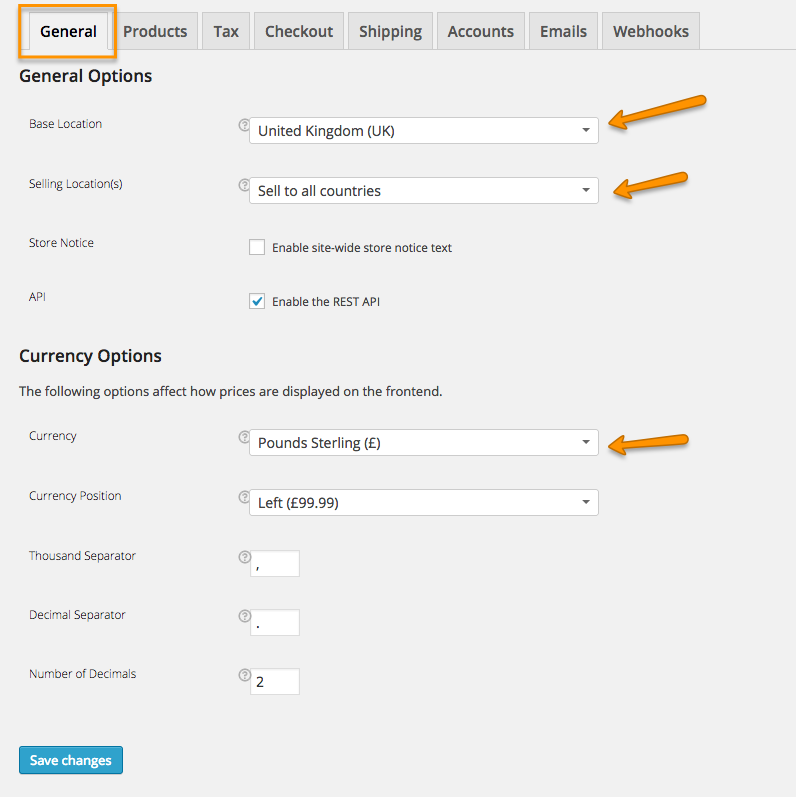
The first tab you will see is the GENERAL tab. This tab allows you to define the currency and location. Be sure to adjust this assuming that you are not in the UK.
Review Locations and Currency
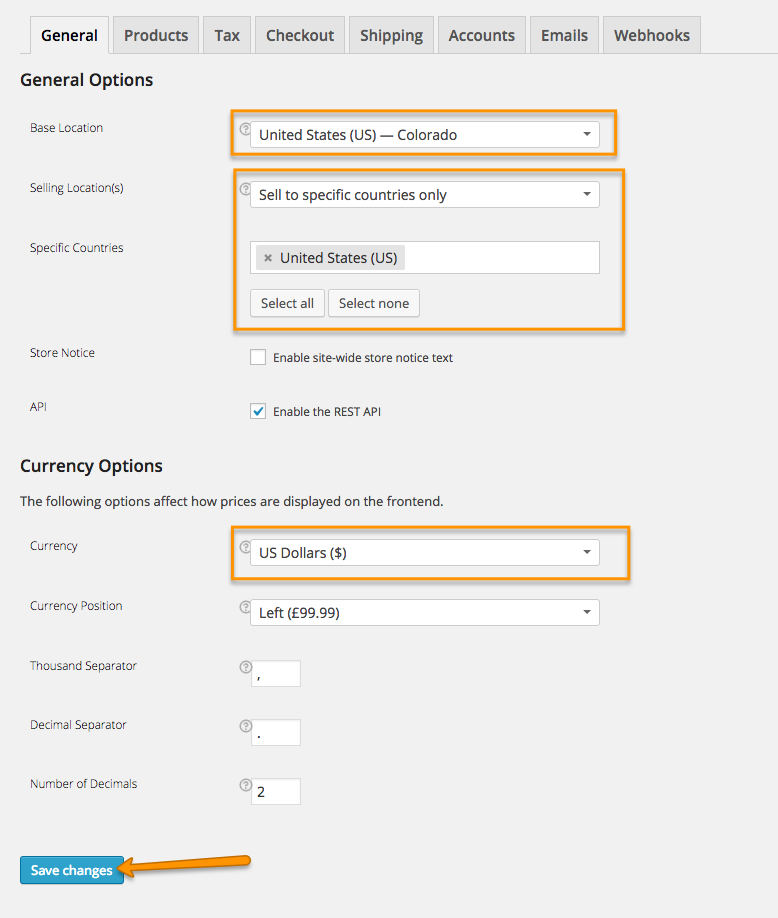
First review the Base Location. If you need to change it, click the arrow and a drop down will appear. Note, you can select United States or you can select a specific State in the United States (just below the USA option). Next, we would suggest selecting to Sell to Specific Countries Only and then select the United States as your option. Finally, change the currency to US Dollars and click SAVE CHANGES.
Click the PRODUCTS Tab
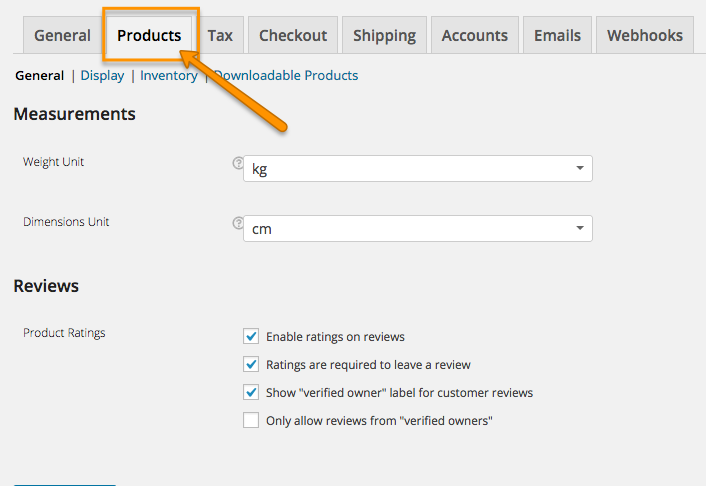
Click the PRODUCTS Tab to view options related to your products.
Adjust General Product Options

Check the settings for both the Weight Unit and the Dimensions Unit to ensure they are to your specifications. Then click SAVE CHANGES
Click the DISPLAY Product Options
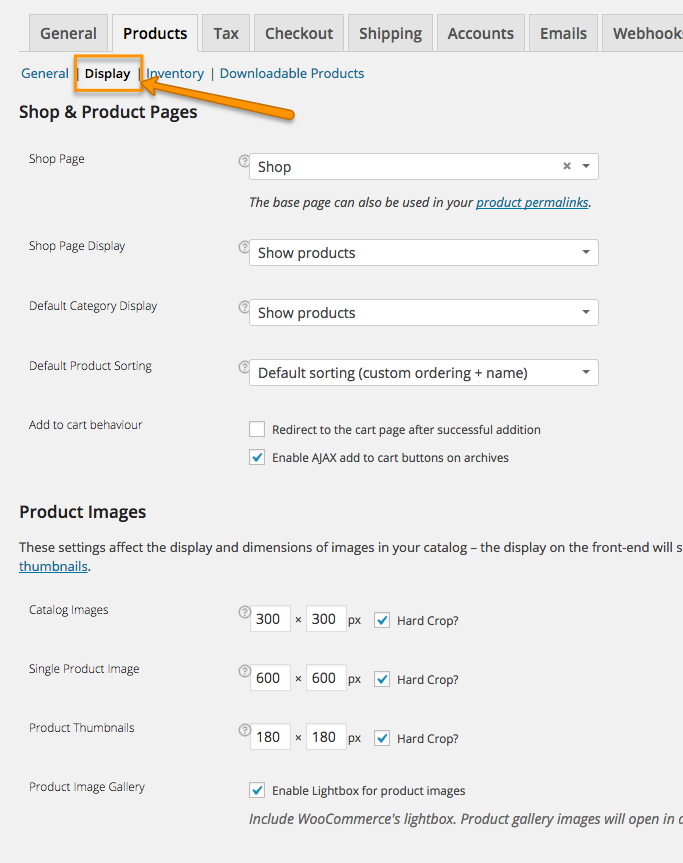
Next click on the DISPLAY sub category and review the settings. If you don’t have a reason to make any changes, this page should be fine to get you started. Feel free to make any changes as well. If you make changes, be sure to click the SAVE CHANGES button.
Click the INVENTORY Product Options
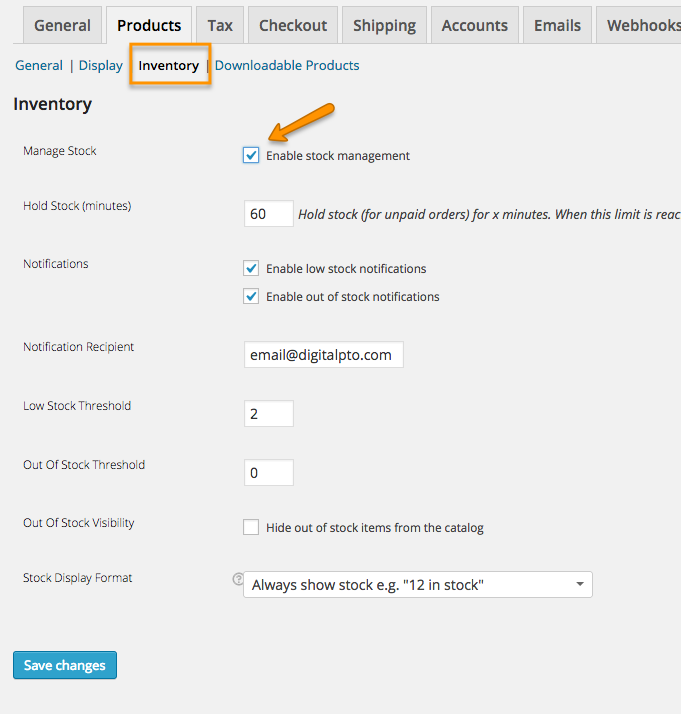
Next click on the INVENTORY sub category and review the settings. If you do not need to keep track of inventory, you can uncheck the ENABLE STOCK MANAGEMENT option. Otherwise, you can leave that active. Additional settings can be adjusted if you desire. If you make changes, be sure to click the SAVE CHANGES button.
Click the TAX Tab
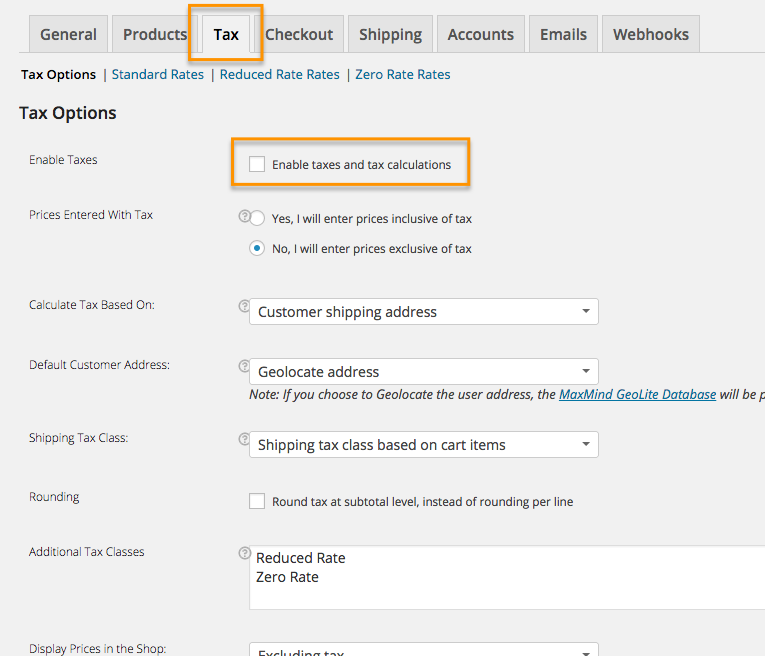
Next click on the TAX tab. If you do not charge taxes, you can ignore this page and move to the next step. If you do have to collect taxes, check the ENABLE taxes box and proceed through every option (including the sub categories) to ensure your settings are correct.
Click the CHECKOUT Tab

The CHECKOUT tab has quite a few options, so we will cover these in a little more detail. This section handles everything related to payments for the most part.
Checkout Process Section
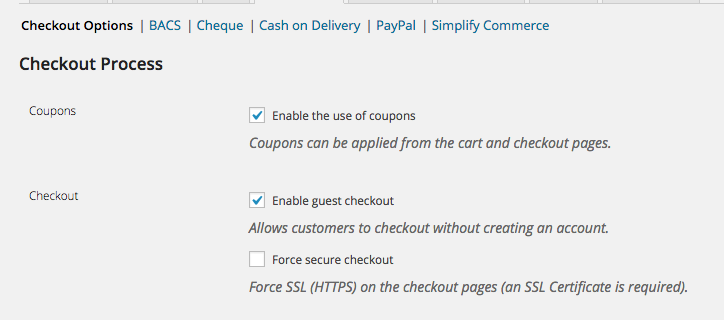
The Checkout Process section let’s you enable or disable coupons (turn them off if you don’t plan on using them) as well as the ability to allow guest purchases or to force users to create an account to purchase. You also have the option to force SSL encryption. DO NOT ACTIVATE this if you are using a Custom Domain name or it will create errors for your visitors. SSL is only available on .DigitalPTO.com domains.
Checkout Pages Section

The Checkout Pages section allows you to assign a different page to your Cart or Checkout if you would like to. It also allows you to assign a Terms & Conditions page if you need one for your group.
Checkout Endpoints Section
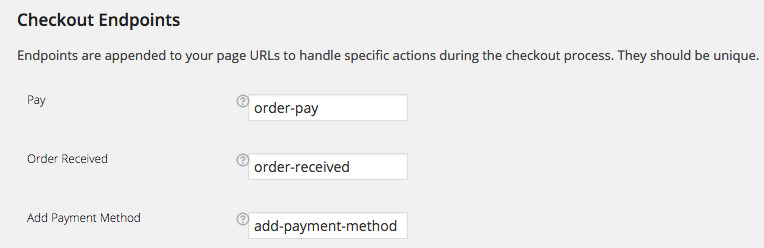
The Checkout Endpoint section should NOT BE EDITED unless you have a specific reason to do so.
Payment Gateways Section
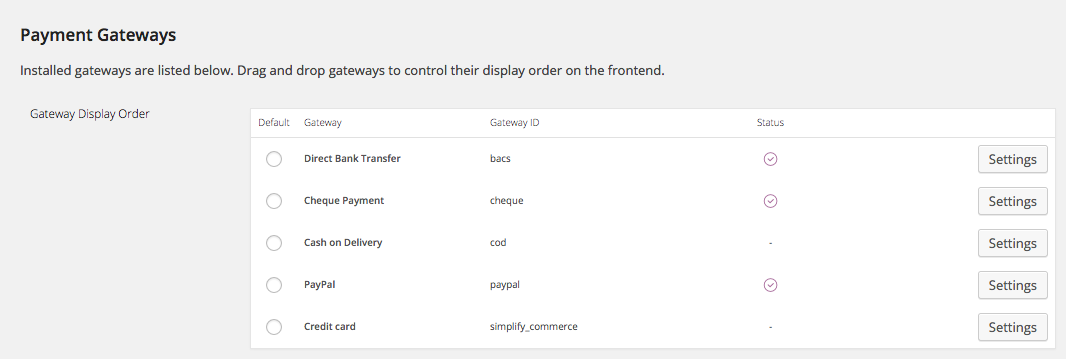
The Payment Gateways section allows you to determine the different payment methods. By default, Direct Bank Transfer, Cheque and Paypal are enabled. In most cases you will want to offer either only Paypal or Paypal and Check payments so we will explain how to do that. Feel free to adjust as needed. Please note that the Credit Card (Simplify Commerce) does NOT WORK, so do not enable this payment method.
Click SETTINGS for Direct Bank Transfer
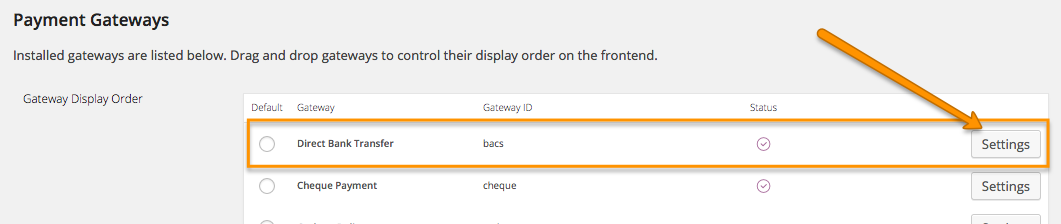
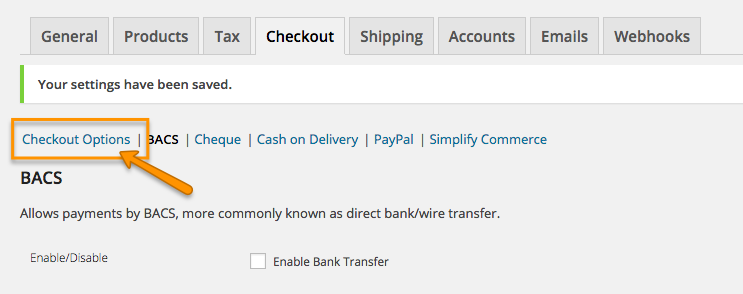
To disable the Direct Bank Transfer payment option click on the SETTINGS button to the right of the title.
Uncheck ENABLE BANK TRANSFER
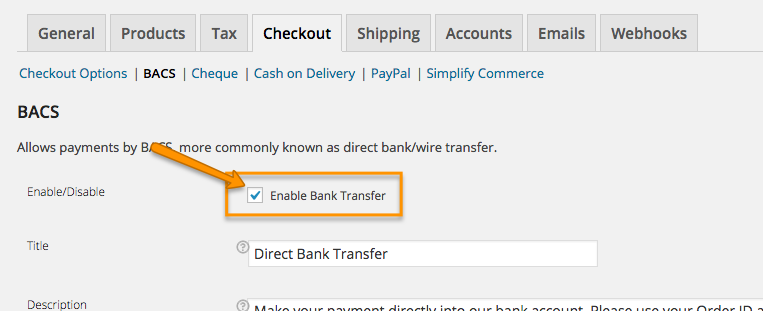
Uncheck the box that says ENABLE BANK TRANSFER and then click SAVE CHANGES at the bottom.
Click on CHECKOUT OPTIONS section
Once your changes have been saved, click again on the CHECKOUT OPTIONS section and scroll back down to the payment options.
Click SETTINGS for Cheque Payment
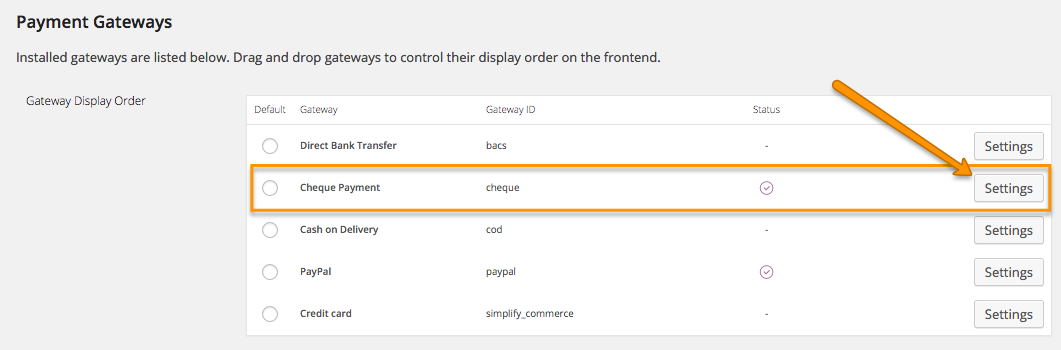
Once you have returned to the main Checkout Options page, scroll to the bottom again and click the SETTINGS button next to CHEQUE PAYMENT.
Review Enable Settings
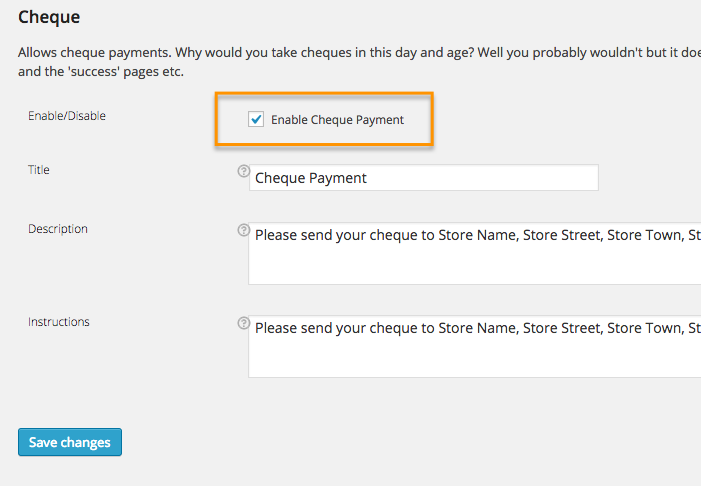
If you are planning on accepting checks, you can leave the Enable Check Payment option checked, otherwise, uncheck this box and Save Changes.
Edit Cheque to Check

If you are planning on accepting checks, you will probably want to change the spelling from Cheque to Check. You can do that in the TITLE section. Additionally, you can modify and change the Description (how the payment option is described on the checkout page) as well as the Instructions (for those that select this payment method). Be sure to SAVE CHANGES when you are finished.
Click on CHECKOUT OPTIONS section
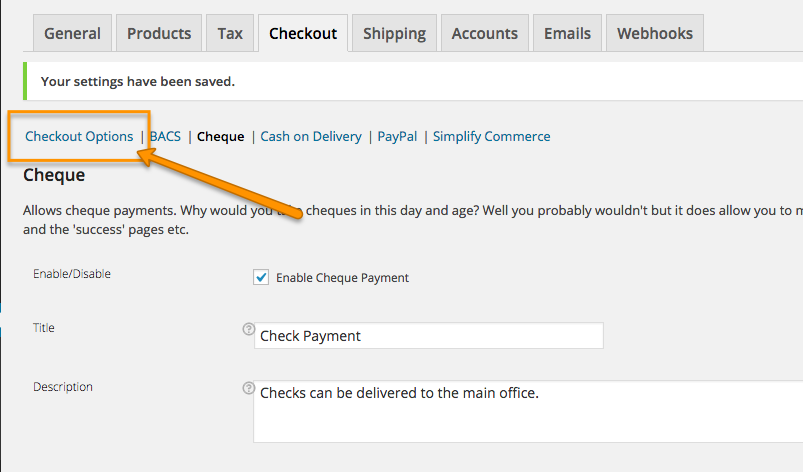
Once your changes have been saved, click again on the CHECKOUT OPTIONS section and scroll back down to the payment options.
Click SETTINGS for Paypal
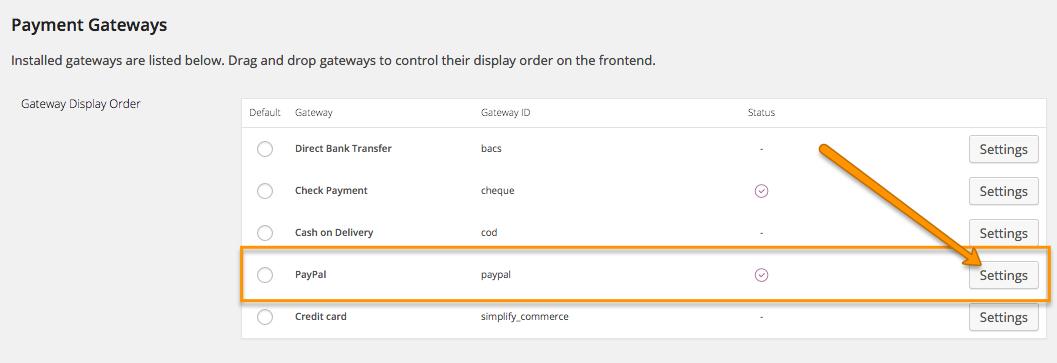
Scroll back down to the bottom and this time click on the SETTINGS button next to the Paypal options.
Enter PAYPAL EMAIL field

The only field that is required on this page is your PAYPAY EMAIL. Enter your groups paypal email address and then click SAVE CHANGES. You are welcome to adjust other options on this page as well. At this time, those options are not covered in this guide as they are enhanced features.
Return to CHECKOUT OPTIONS again

Your final trip back to the CHECKOUT OPTIONS page. Scroll down again to the bottom.
Adjust your Payment Option Ordering
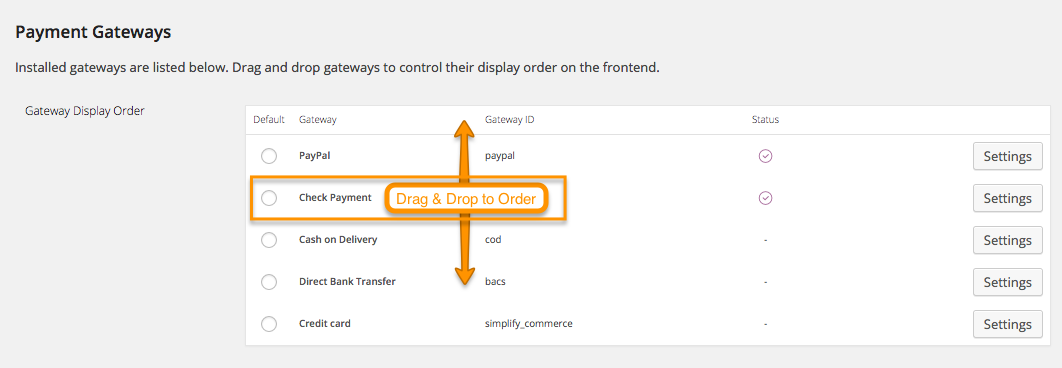
Scroll back down to the payment options for a final time. Assuming that you would prefer Paypal over a Check payment, you might want to change the order that the payment options are presented in. By default, Check will be presented before Paypal. To change that, you can simply DRAG the Paypal title up above the CHECK title and release the mouse. And as always, be sure to SAVE CHANGES when you are finished.
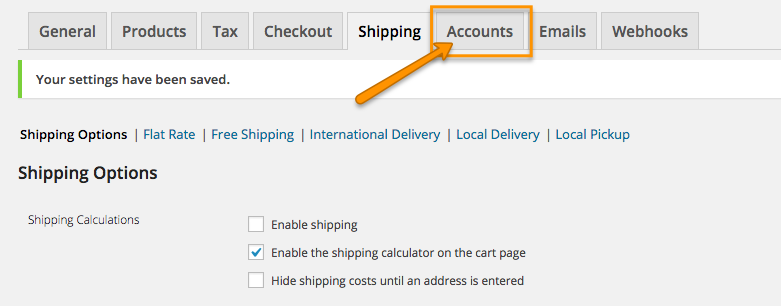
Click on the SHIPPING Tab

The vast majority of our members will not be doing any sort of shipping (other than classroom delivery) for their orders, so we will show you how to turn shipping options off completely. You are welcome to enable and set up your shipping options, but those features will not be covered in this tutorial.
Uncheck the ENABLE SHIPPING box
Assuming that you do not wish to enable shipping, be sure to uncheck the ENABLE SHIPPING box. Remember to click the SAVE CHANGES button to record the changes. If you do wish to enable shipping, leave that box checked and proceed down the page. It is well documented so you should be able to navigate your way through.
Click on the ACCOUNTS tab
The Accounts Tab allows you to make adjustments to some of the My Account functionality. By default, you do not need to make any changes to this page but if you do be sure to click the SAVE CHANGES button.
Click on the EMAILS tab
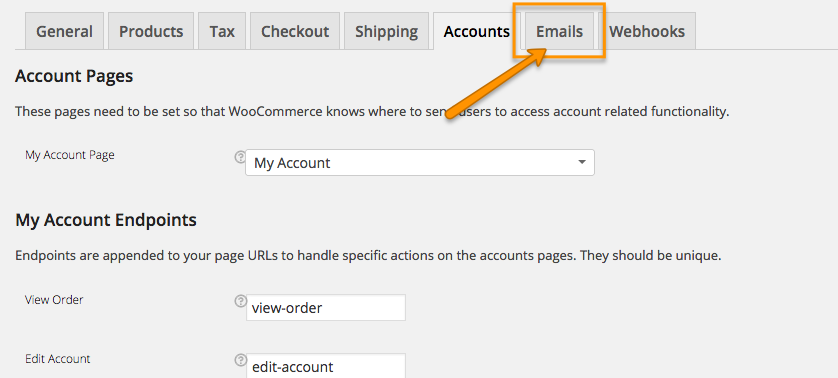
You’re almost done!! Final Tab! Click the EMAILS tab.
Review Email Sender Options
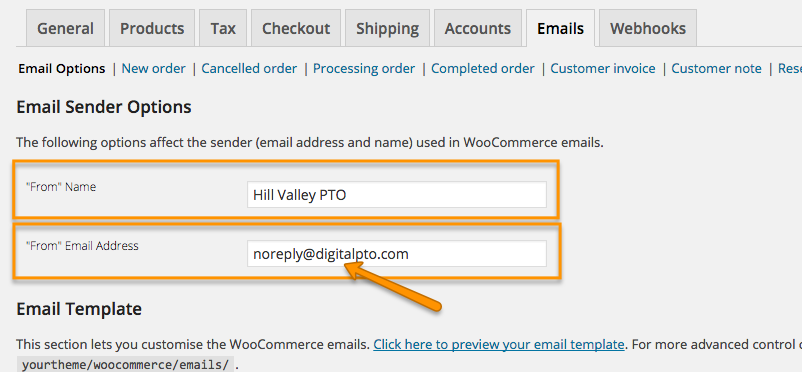
The first set of options are for the Email Sender Options. We suggest using your groups name as the FROM NAME.
PLEASE USE [email protected] as the FROM EMAIL ADDRESS or you may experience delivery issues with Gmail, icloud and Yahoo.
Review Email Template

No changes are required on the Email Template settings, but you are welcome to adjust colors and wording as you would prefer. Be sure to click SAVE CHANGES to record the changes.
Review Various Emails

You will notice a list of all the possible emails that come from your store across the top. Feel free to review these and make changes as necessary. You can customize the recipient and subject line in these sections.
IMPORTANT: You will see an option to customize the templates for the emails. DO NOT USE THIS OPTION. This can cause damage to your functionality and can not be used under any circumstances.
DO NOT COPY EMAIL TEMPLATES
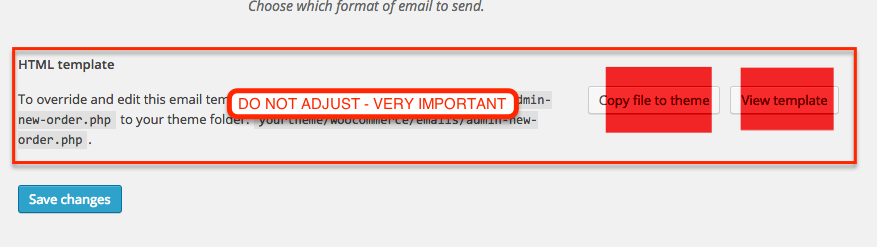
If you see the ability to copy email templates to your theme, DO NOT SELECT THIS OPTION. It can wildly damage your store. You have been warned.
CONGRATS! Settings are completed.
You did it! Your settings are now complete. Bravo.
