The Premium Events calendar has the option to assign a Featured Image to the event. This will allow the calendar to display that image in a variety of ways in relation to your event. This is a great way to call attention to special events and dates.
Creating the Best Featured Images
If you want to create the best featured image, here is what we would suggest. Make it rectangular (wide) and keep the main focus of the image in the center. This will keep the idea of the image in tact when it is cropped to a square and also not allow the image to take up too much space when it is on the individual event detail page.
Where is the Featured Image displayed?
Featured Images are displayed in multiple locations.
The Master Calendar
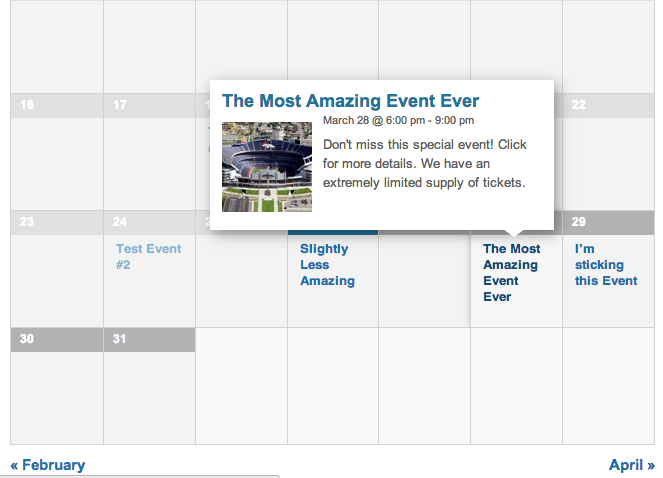
The Featured Image will be seen in the main calendar when you hover over an event with an assigned Featured Image. This image will be cropped to be square.
The Events List
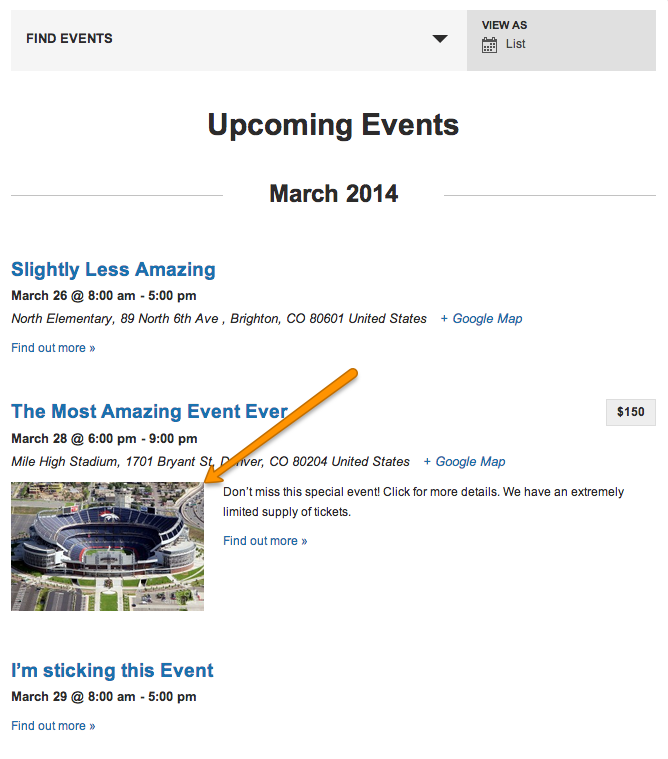
The Featured Image is also displayed prominently when the calendar is viewed as an Events List. Image is displayed on the left side of the main content of the event.
The Event Detail Page
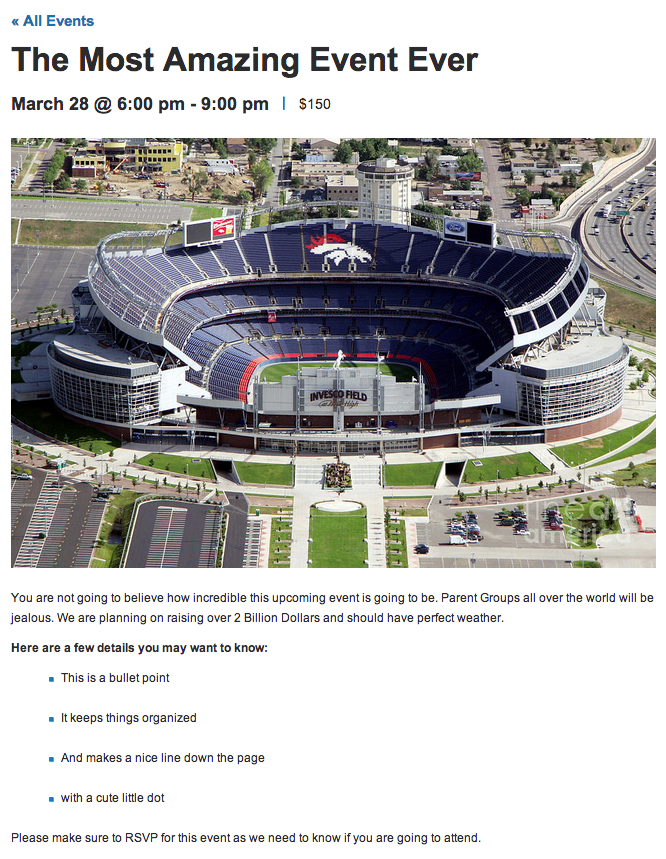
The final place you will see a Featured Image is on the Event Detail Page. On this page, the Featured Image will be at the top of the page, above the main content and the event details. It’s best to use a wider image than a taller image here.
Setting a Featured Event Image
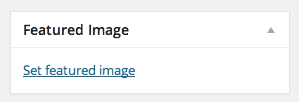
It is very easy to assign a Featured Image. When you are Adding or Editing an event, look for the Featured Image section on the right side. Click the ADD FEATURED IMAGE link and either upload an image or select one you have already uploaded to your media library.
Removing or Editing a Featured Image
If you need to remove a Featured Image, click the REMOVE FEATURED IMAGE link. You can either save your changes to completely remove the Featured Image, or you can upload a new Featured Image and then save your event.
