The Premium Calendar has two popular looks
 The Premium Calendar has two visual options. The option above is the default “Tribe Events Style”.
 And this option is the “Full Style” that changes based on your theme.
How to use your PTA / PTO Premium Events Calendar
Digital PTO Premium & Premium Plans Members have access to our Premium online events calendar. Your events calendar can be used to add meetings, events, reminders, important school dates and more. This is a much more advanced version than our Standard Calendar.
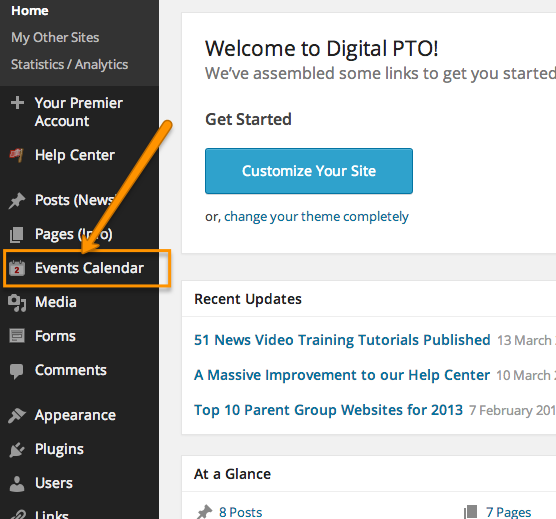
Step 1: Verify that your Premium Calendar is activated
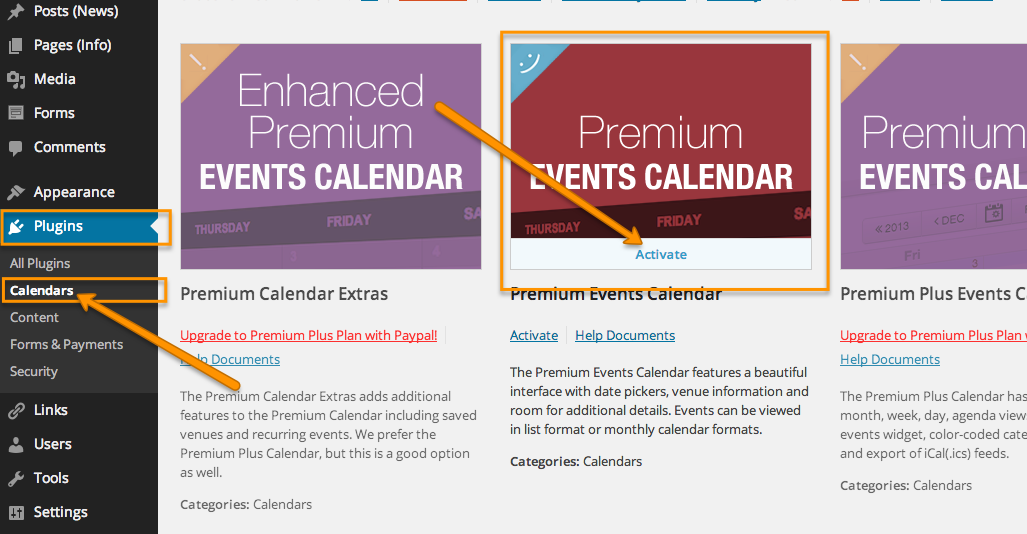
Step 2: Activate Premium Calendar (if needed)
Step 3: Deactivate the Standard Events Calendar (if needed)

To deactivate the Standard Events Calendar, head to PLUGINS > CALENDARS and then click the DEACTIVATE link under the Standard Calendar. Again, this is only necessary if you have both calendars currently running on your website.
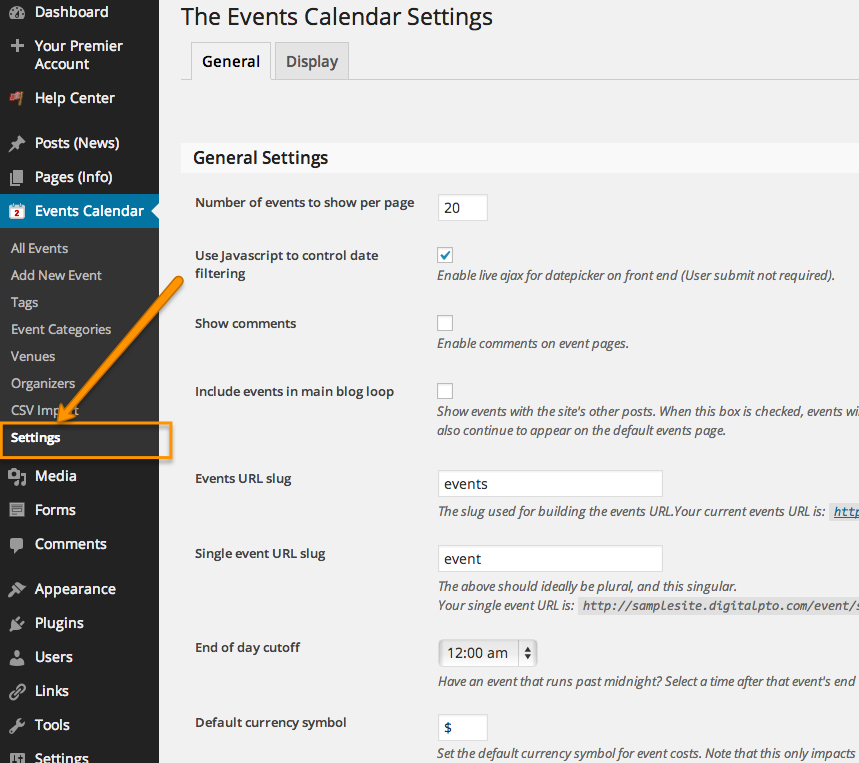
Step 4: Adjust Settings for the Premium Calendar (if needed)
Step 5: Point your Menu to EVENTS (if needed)
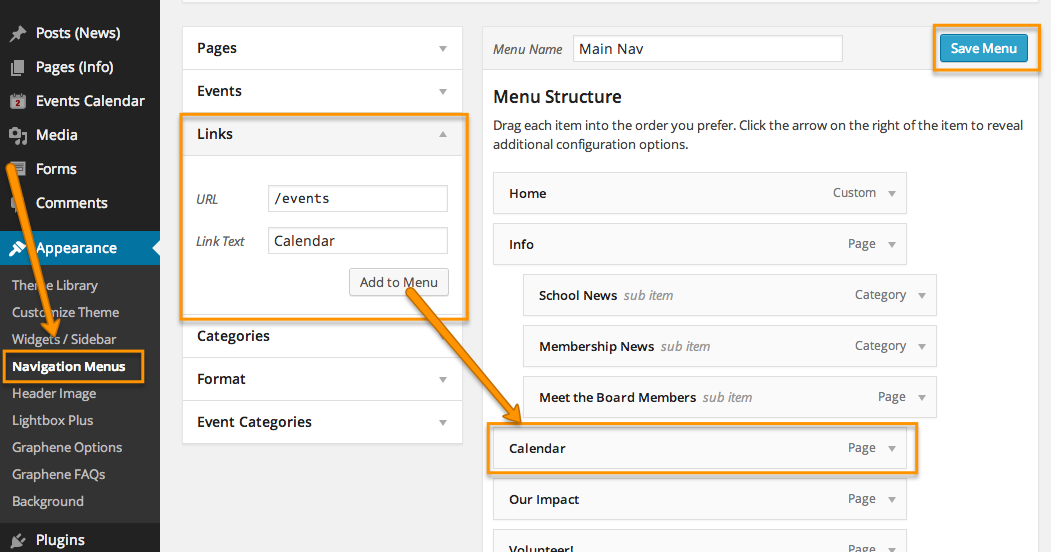
- Part 1: Click on APPEARANCE and then NAVIGATION MENUS to access the menu system.
- Part 2: Verify that you have selected your primary menus for your theme. Under “Select a menu to Edit” be sure to set MAIN NAV in the drop down menu and click SELECT. (more details here on working with Menu’s)
- Important Note. If the theme you are using does not support the Menu system, you will not be able to use the Premium Calendar. We would suggest selecting a theme that does support the menu system if possible.
- Part 3: Find the Menu option called LINKS and enter “/events” (no quotes) in the URL Field and type “Calendar” (again no quotes) in the Link Text field. Then click ADD TO MENU. This will add the Calendar option to the bottom of your Menu.
- Part 4: Move your new Calendar Menu Item to the location you prefer within your menu and click SAVE MENU.
- Part 5: If you have a previous menu item called CALENDAR that was used with the Standard Calendar, you will need to delete that. You can tell the two calendar menu items apart by looking at the right side of the menu item. The New Calendar item you just created will say CUSTOM to the right and the old calendar link will say PAGE to the right. Click the arrow on the old calendar link to expand it and then click REMOVE to delete it.
Remember to always click SAVE MENU after you make any changes. You should now have a Menu Link called CALENDAR pointing to your new Premium Events Calendar on your live site.
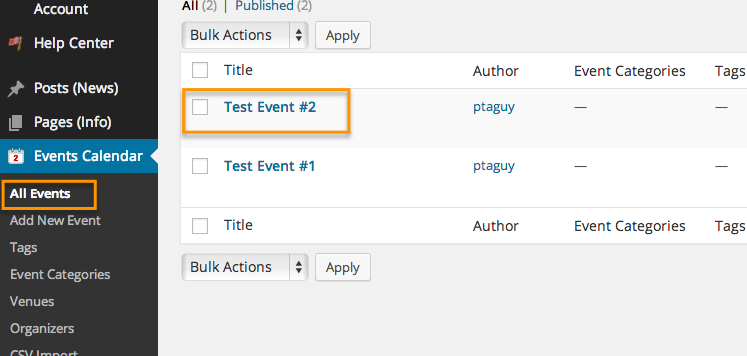
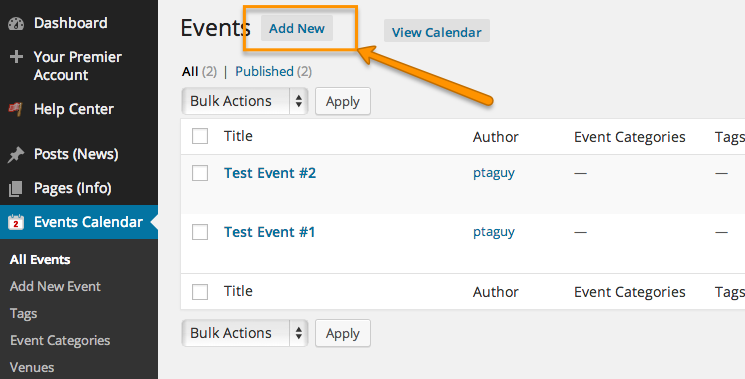
Step 5: Adding Events to your Premium Events Calendar
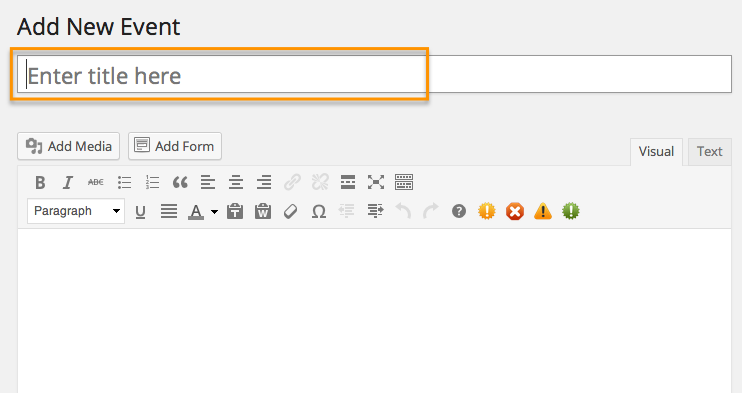
Step 6: Enter a Title for your Event
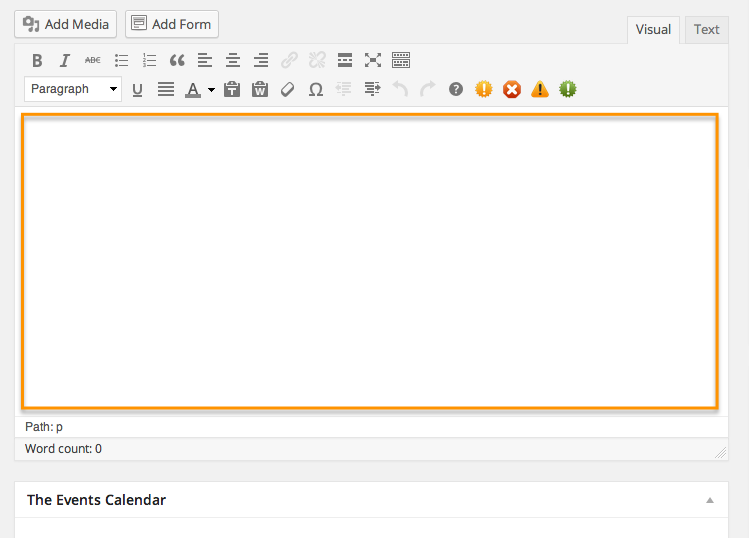
Step 7: Enter an optional Description for your Event
Step 8: Set the Date and Time for your Event
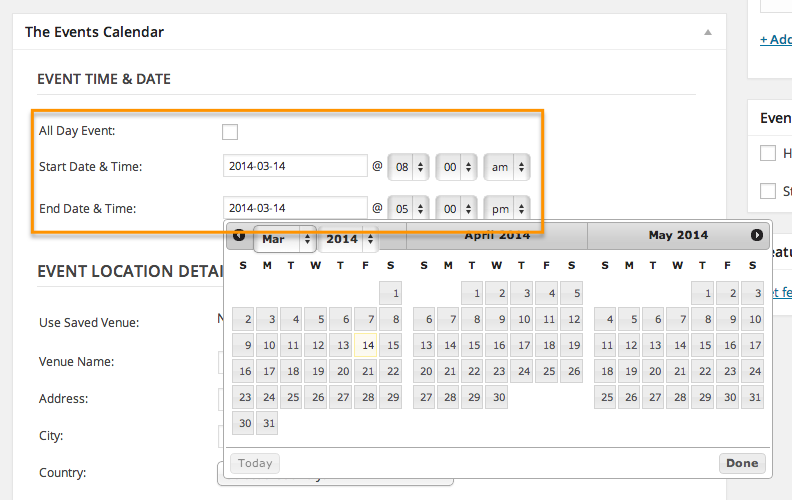
To set the date, click in the field with today’s date in it and a calendar interface will appear to allow you to select a date quickly. Click the date you wish to add the event to and the calendar will go away. Now select the start time for your event. Finally, select the end time for your event. At this time, an end time needs to be selected even if you do not have a scheduled end time.
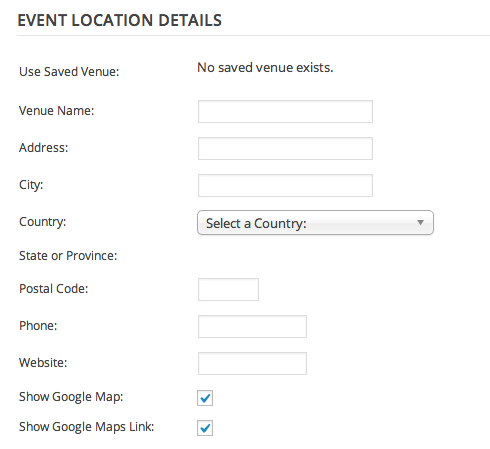
Step 9: Enter Location Details (Optional)
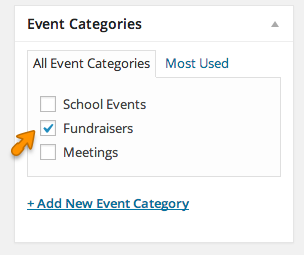
Step 10: Specify an Event Category (Optional)
Step 11: Featured Image (Optional)

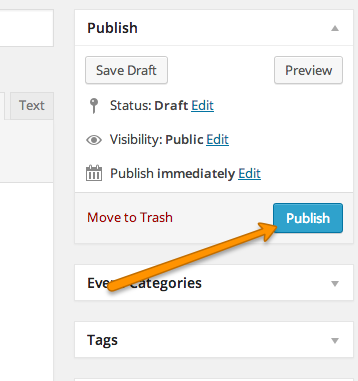
Step 12: PUBLISH your Event
Step 13: View Your Event