We covered the basics of adding a new event in our Events Calendar Basics tutorial, but this tutorial will explain in further detail all of your available options with adding and editing events. This tutorial will break down every element of adding a new event in detail.
Adding a new Event
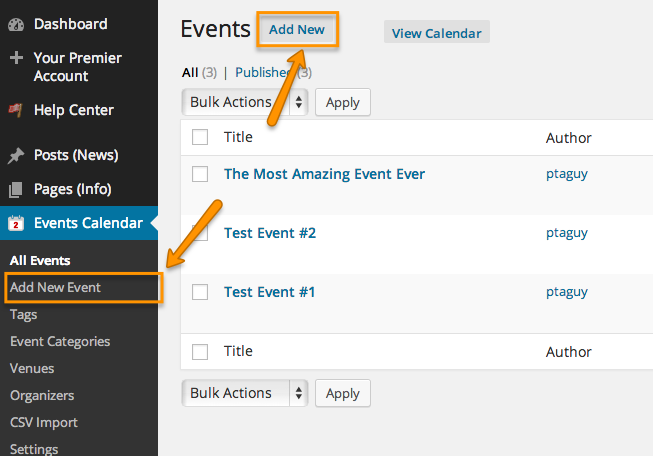
To add a new event, click on Events Calendar and then click on either of the Add New links.
Understanding the Events Calendar Functionality & Views
Many elements of your website are effected when you add event information, so it’s important to know where information will go before you add it. This overview will show you the different elements of the Events Calendar.
The Calendar View
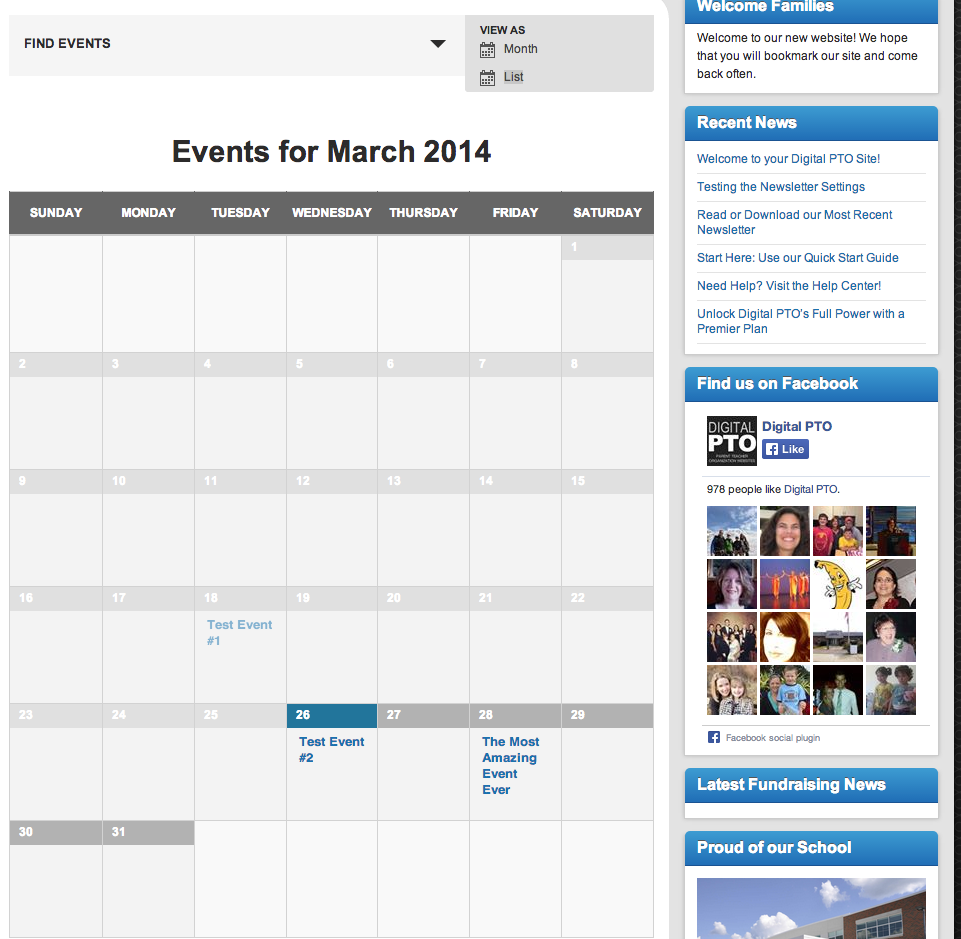
The default view of your calendar in box form.
The Events List View
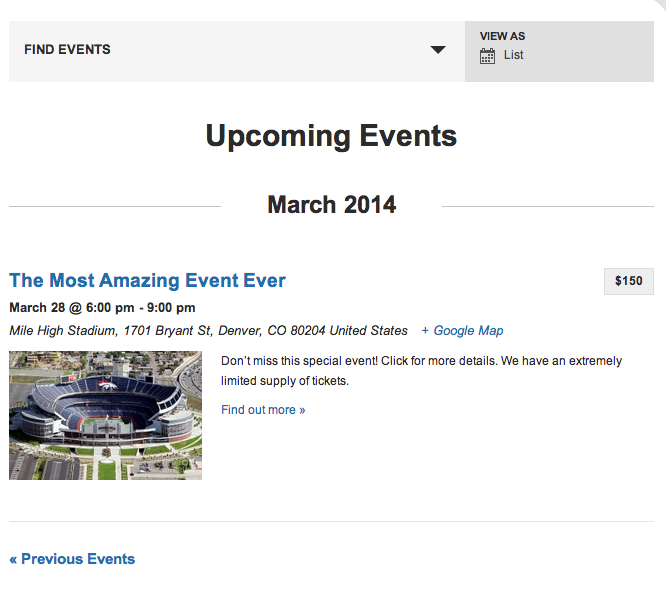
Another optional view of your events in List Format. Notice that it only lists upcoming events, not past events.
The Events Calendar Widget
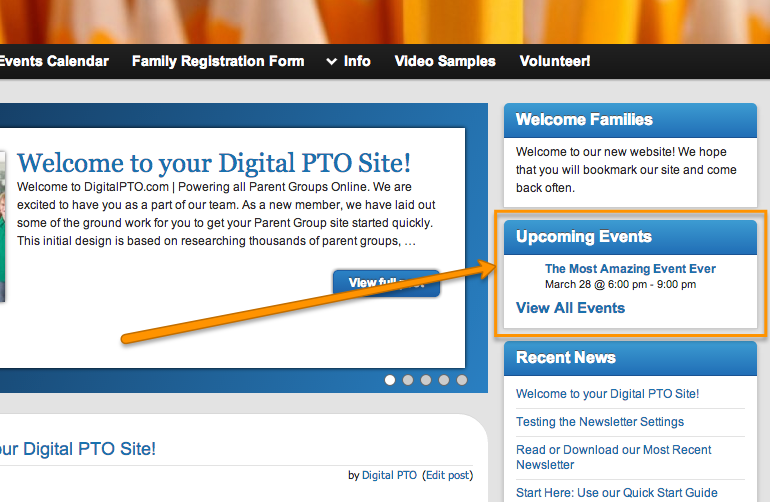
The Events Calendar Widget can be added to your sidebar in the location of your choice.
The Event Detail Page

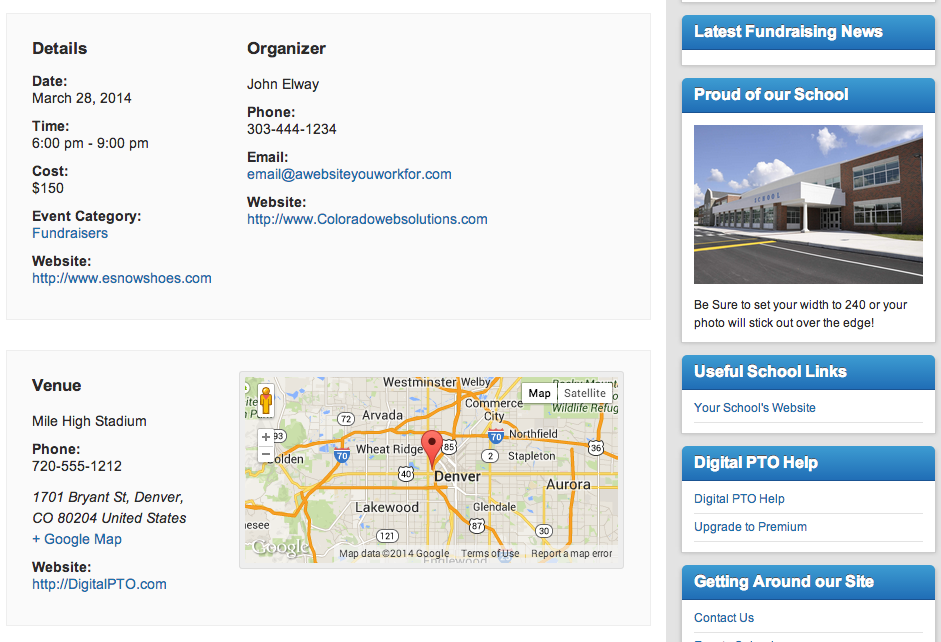
This page (broken down into two images in our example) is the page that list all of the specific details about your event. Dates, Times, pricing, location, organizer, specific information, images and more.
Event Title

Enter the Title of your Event here. Remember that this will display on the calendar as well, so make it short and concise.
Main Content
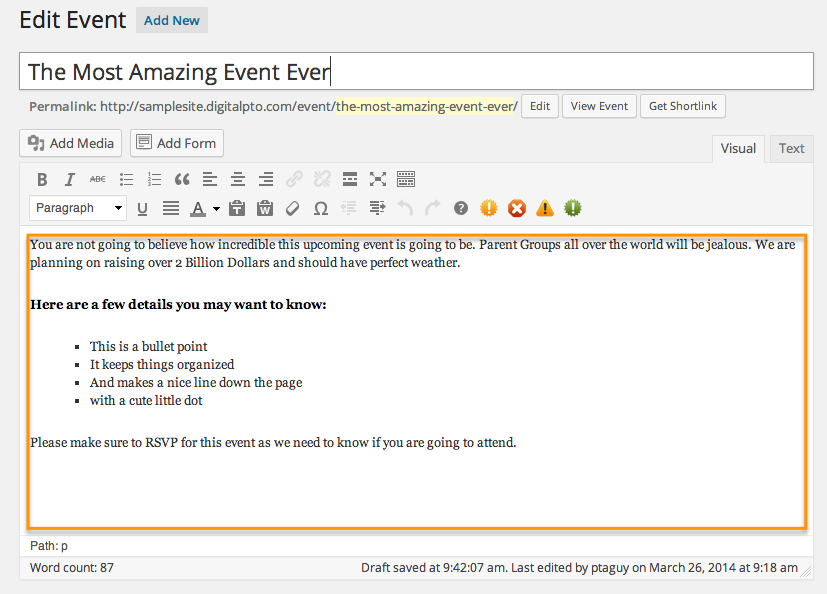
This section is optional, but a great way to promote the specifics of your event. You can enter text, images, formatting, etc, just like a regular news post. Keep in mind that this information does appear on the screen above the event details (time, location, etc)
Event Time & Date
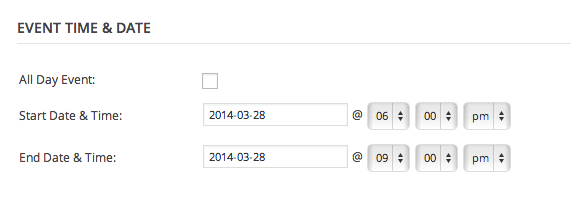
This section allows you to specify the date and time of your event. If All day Event is selected, you can select a start and end date, if All Day Event is not selected you can select the start and end date as well as the times.
Event Location Details

This section allows you to enter the address (location) of the event. If you have previously created a venue (tutorial) you can select the saved venue from the drop down list. Otherwise, you can add the venue information including Name, Address, Phone & Website. You can also determine whether your event shows a google map and/or a link to a google map.
Event Organizer Details

This section allows you to assign a public contact person or group to an event for follow up questions, etc. If you have previously create organizers (tutorial) you can select them from the Saved Organizer list, otherwise, you can add the organizers name, phone and website address.
You can also add a contact email address, BUT we would advise against that in order to avoid getting a bunch of spam emails from spam spiders that crawl the internet looking for email addresses.
Event Website

If your event has it’s own promotional website, you can enter that here.
Event Cost
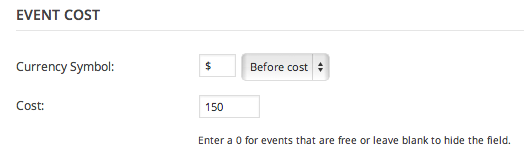
If there is a cost associated with your event, you can list it here and it will be included in the descriptions of the event. This does not enable payment for the event, but it will display the cost in various ways in the calendar interface.
Excerpt
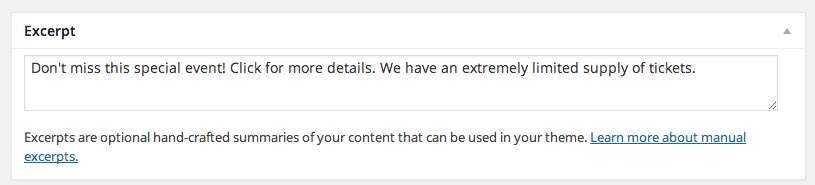
The Excerpt is a helpful option. If you want to “tease” your event or to provide the most important information only to your viewers when they see a quick summary of your event in the calendar and list views, the Excerpt field allows you total control of that content. By default the content is pulled from the main body description, but you may want something different to display in the summary. This is the perfect tool for that task.
Event Categories

(on the Right Side of the Page) If you have previously assigned Event Categories (tutorial), they will be listed here and you can select the category or categories for the event. If you need to create a new category, you can do so by clicking the Add New Event Category link.
Tags
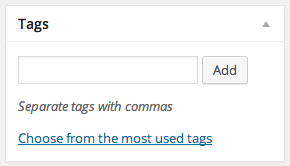
If you want to assign Tags or Keywords to your event, you can do that here. This is optional.
Event Options

Event Options only work with selected themes. You can choose to hide your event in the listings or you can make the event sticky, which will keep it toward the top of your lists. Again, this only works with some themes.
Featured Image
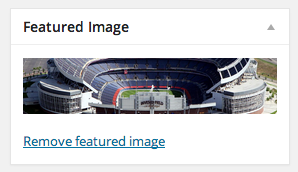
The Featured Image can be very useful in promoting your event. When you assign a featured image, that image will be shown when you hover over the event in the main calendar, it will be shown in the events list and it will also appear at the top of the events detail page. You can get creative with the images and really promote your groups events.
The Publish Options
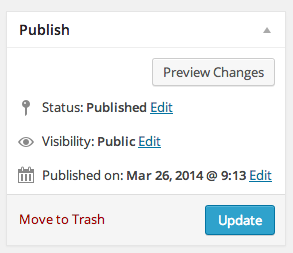
In the publish options, you can Preview your Event, change the status (Published, Draft, etc), change the visibility (public, hidden, etc) and also change the date that the event was published. Note this is the publication date, not the event date.
And finally, you can Move your Event to the Trash or Update/Publish it.
