What is does
Selecting an Image
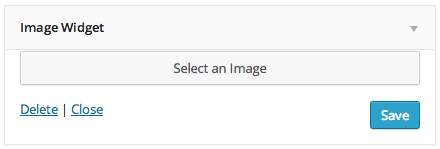
Upload Image or User One from your Library

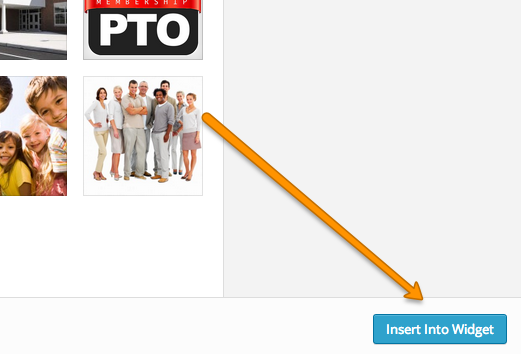
Insert Into Widget
Settings
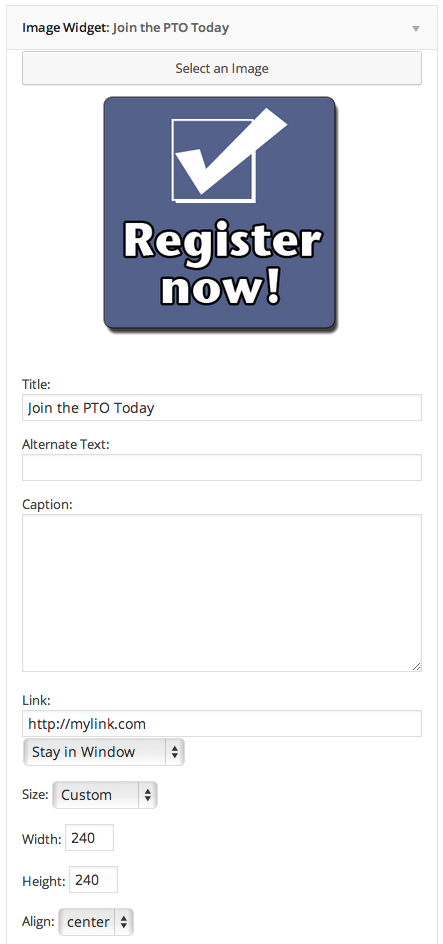
Select an Image: If you want to select a new image, click the SELECT AN IMAGE button. Note that you will need to adjust your settings again when you replace an image.
Preview: You will see a preview of your image in the widget.
Title: This can be left blank or you can give your image widget a title.
Alternate Text: This is the text that will be attached to the image (for search engines and accessibility)
Caption: If you would like to add a caption below your image, this is where you can type that in.
Link: If you want user that click on your image to go to a different page, enter the link of the destination here.
Link Options: Stay in Window is the normal functionality and Open in New Window will open the new page in a new window.
Size: This is IMPORTANT. If your image is larger than the sidebar, it’s going to look strange. The Starter 2012 Theme has a sidebar width of 240 pixels, so we suggest setting your images for a width of 240. To do that, select CUSTOM from the Size options. In the Width settings, enter 240, the height will adjust automatically. Other themes have different size side bars so you’ll need to experiment.
Align: Typically we suggest setting the alignment to CENTER. Some themes do ignore this setting all together.
