How to Upload Documents

How to Upload and Link to Documents

The ability to replace printed copies with Digital Documents is one of the cornerstones of Digital PTO. By uploading documents to your website and allowing parents to read them online, or print them from home, can save your Parent Group thousands of dollars a year. This tutorial will cover uploading a document and providing a link for users to download and view/print the document. We also offer the ability to embed a document to our Premium Plan Members so that a document can be viewed directly on the website without the need to download. That is covered in a different tutorial.

A Few Things to Keep in Mind

Our free plans come with limited storage space. If you plan on uploading quite a few documents and or images to your Digital PTO site we would highly suggest upgrading to a Paid Plan. Document uploads are limited to either .pdf or .doc formats only. Individual Files sizes are limited to 14 MB.

We HIGHLY RECOMMEND using .PDF documents as virtually every computer and smart phone can read them with ease. If possible, avoid uploading .doc documents as special software is needed to view them.

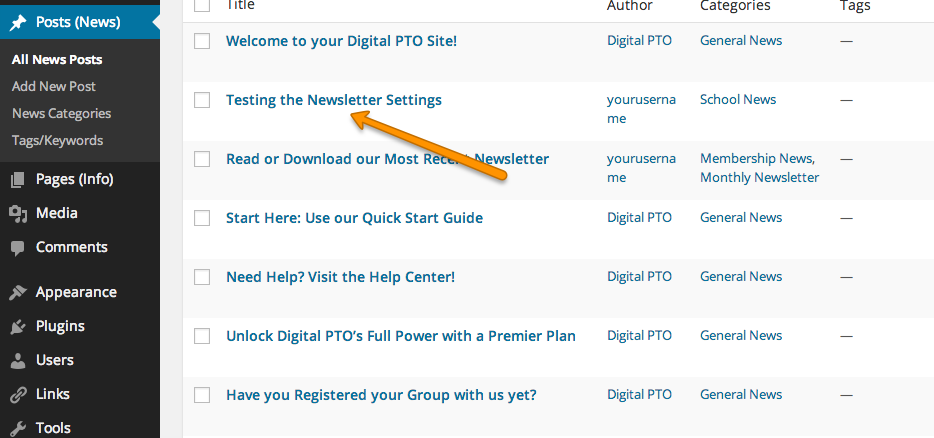
Step 1: Open the Page or Post you want to add the Document to

openpage

Adding a document is the same whether you are using a News Post or an Informational Page. We will be using a News Post for this sample. Once you have the list of Posts available, click the Title of the Post you want to add a document to.

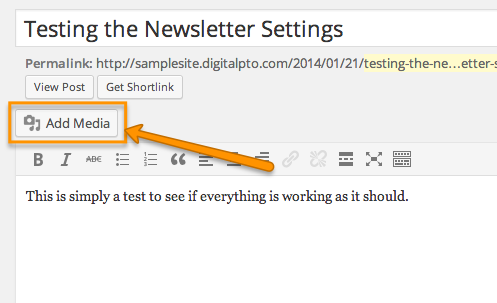
Step 2: Click where you want to Add your Document

selectlocation

Once you have a Post or Page opened, click within the body of the text where you would like to insert the link to the document.

Step 3: Click the Add Media Button

addmedia-button

Click the Add Media Button. This is the same button you would click to add an image as well.

Step 4: Select File to Upload

selectfiles

When the Media Uploader opens, click the SELECT FILES button to find the file that is stored on your computer. If you do not see that button, be sure to click the UPLOAD FILES tab up top. You can also drag a file from a folder on your computer to the center of the uploader if you prefer.

Step 5: Assign a Title to your File

title-pdf

Once the file uploads, you will see a list of all of your files and the newest file will have a checkmark by it. On the right side of the screen you should enter the Title of the File in the TITLE section. This is the Title that will appear on your page with the link. If you do not specify a title, the title of the document you uploaded will be used.

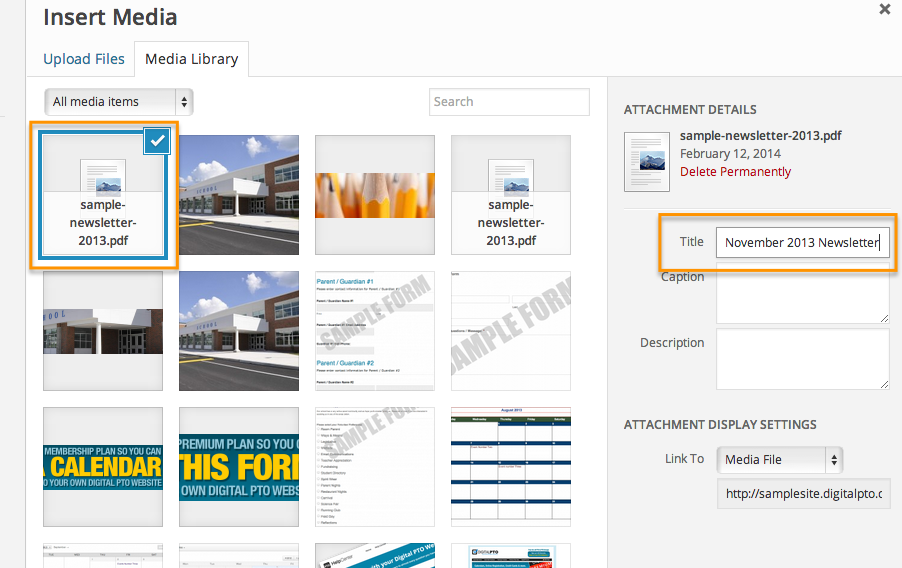
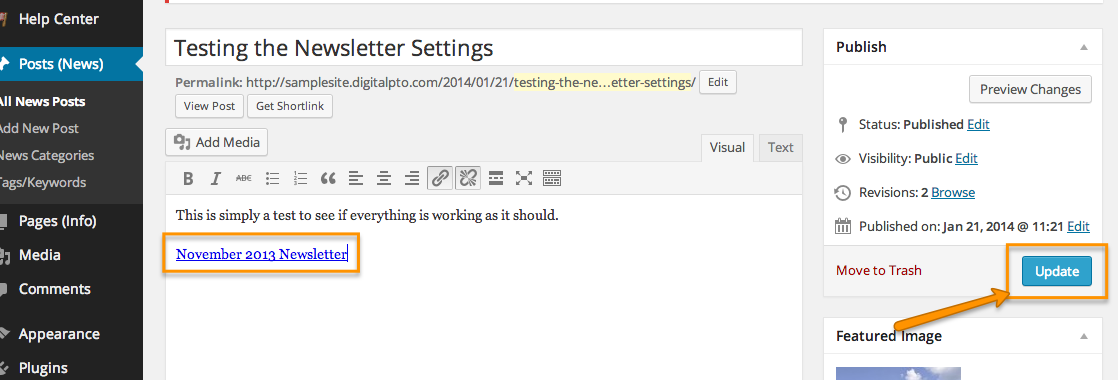
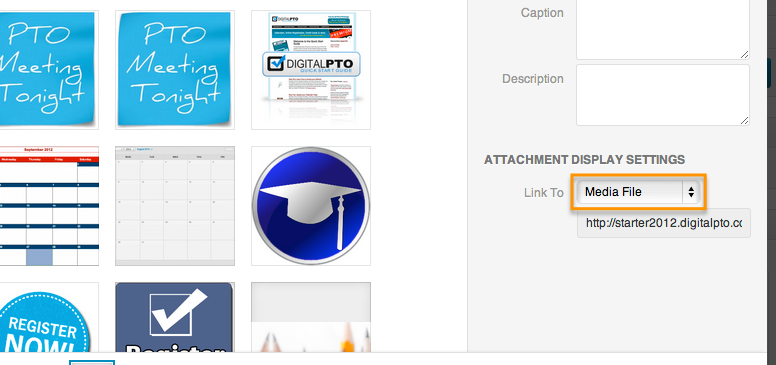
Step 6: Ensure the Title Links to the Media File

mediafile

Double check the LINK TO settings and verify that it is set to MEDIA FILE. This will make the link you are inserting link directly to the document. If you need the URL of your uploaded file (to send in an email for example), the URL of the document can be found directly below the link settings. You can copy this URL for use if needed.

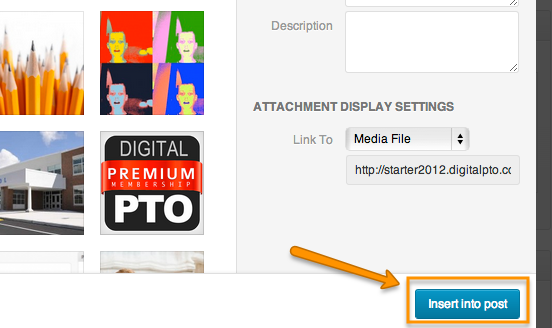
Step 7: Insert the File to your Post or Page

insert-button

Once everything is ready, click the INSERT INTO POST/PAGE Button and you will be taken back to your Post/Page with your newly uploaded document automatically linked and ready to go.

Step 8: Verify the Document Placement and Publish

verify

After you click the Insert Button, you will return to your Page/Post and you can verify that your document is where you want it. Feel free to continue editing, formatting, etc. as you normally would. When you are finished, be sure to click the PUBLISH or UPDATE button to save your changes.