eCommerce is currently undergoing Beta Testing and is not available to all users. These instructions are for our Beta Testers at this time.
This plugin allows you to add additional options to products
Need to ask for more information on a product? For example, the name of the child ordering the custom backpack. Or a child’s teachers name for reference. This plugin will allow you to add additional entry fields on your products.
NOTE: This is NOT a replacement for the built in forms and we do not suggest you add more than a few additional fields at most.
Go to PLUGINS > eCOMMERCE
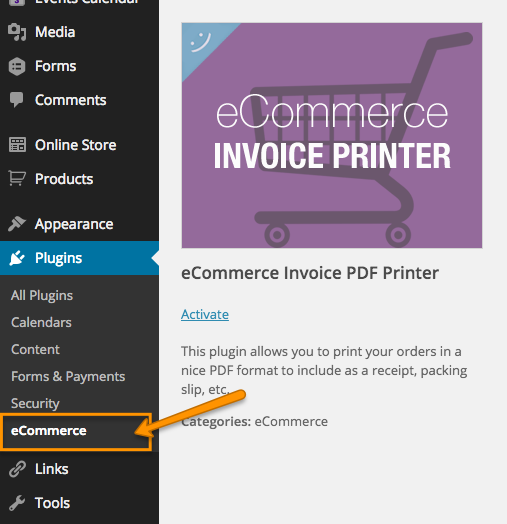
To access the eCommerce Plugins, go to PLUGINS > eCOMMERCE.
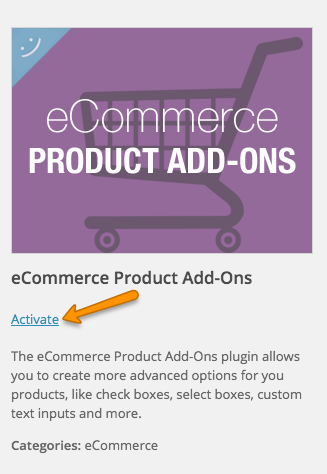
Click the ACTIVATE link to activate the plugin
To access the eCommerce Plugins, go to PLUGINS > eCOMMERCE.
Go To PRODUCTS > PRODUCTS

Access your list of products by going to PRODUCTS > PRODUCTS. Click on the name of the product you want to edit.
Click on New Add-Ons Tab
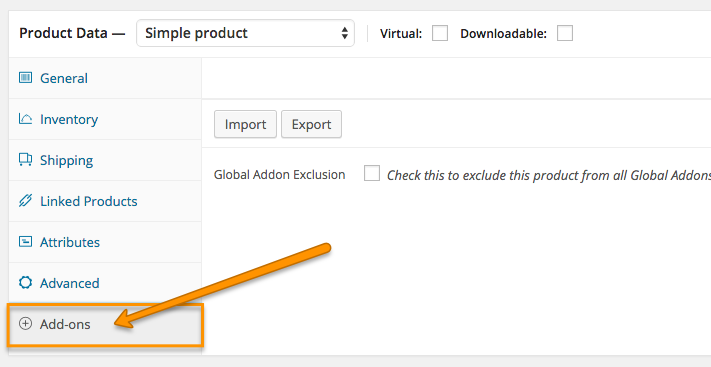
The new Add-On options are created in the ADD-ONS Tab below your product description. Click that tab to open the options.
Click on New AddOns Group

Click the NEW ADDON GROUP button to set up the new add on options.
Select the type of Add On Group

The first thing you will need to determine is what kid of add-on information you are adding. There are a variety of options available. In this tutorial, we will document both a checkbox as well as a Custom Text Input. For now, let’s start with the Custom Input. In the drop down select Custom Input (text) so that we can ask two questions that have typed answers.
Enter Group Name
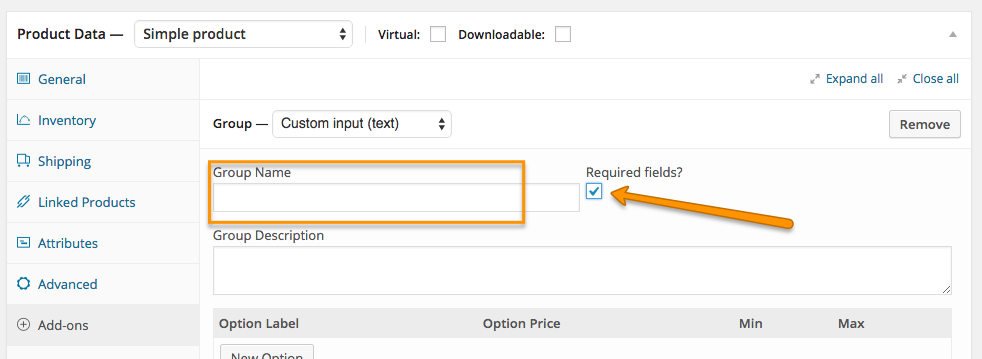
The Group Name is used to divide up the different Add-on Groups. For example, we are going to ask for the Student’s Name as well as the Teachers Name so we could have a Group Name of something like “Delivery Information”. We are also going to check the REQUIRED FIELDS box as we do need these questions answered.
Click NEW OPTION

Click the NEW OPTION button to get started with your first custom field.
Enter OPTION LABEL and optional prices
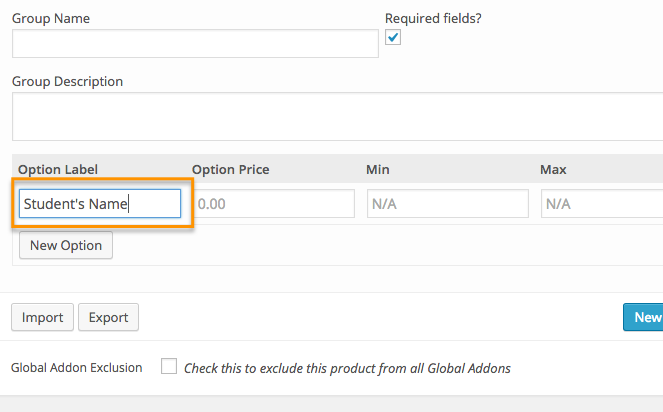
Enter the Option Label for your text field. This will appear next to (or above) your text field, so make this short and descriptive.
Click the NEW OPTION button again
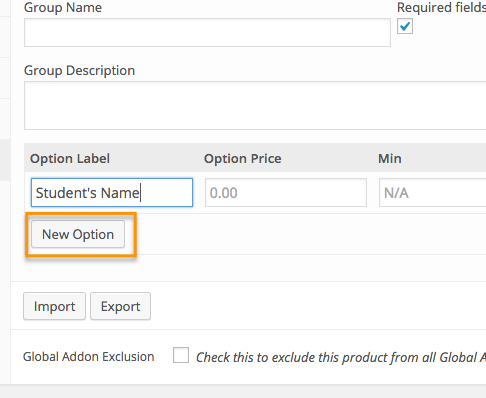
We are going to have two text fields in this example, so click the NEW OPTION button again to create a second field.
Enter Label for second Option Field
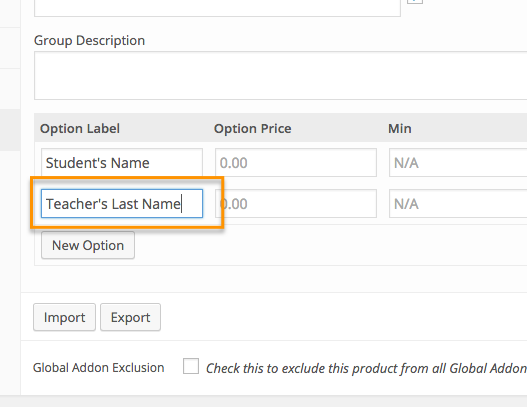
Enter the Label (or Title) for second text input field.
Check Your Work
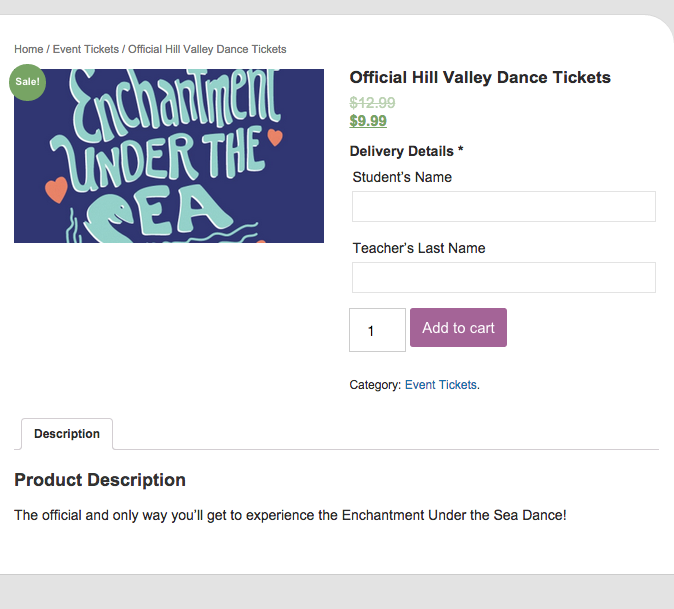
Go ahead and Publish/Update your product (if you are able to do so at this point) and check it on the live version of your site to make sure it’s acting like you expected.
Adding a Second Addon Group

Now we are going to add another add-on for this product. This time we will create a checkbox option. Start by clicking on the blue NEW ADDON GROUP button.
Leave Group as Checkboxes and Enter Name

We are going to leave the Group as CHECKBOXES so you can skip straight to the Group Name. In this example, we are not going to make this a required field because it will have an additional fee. The required field with a check box is very common on Agreements that you need the user to “e-sign”.
Click New Option

Now let’s create the checkbox by clicking NEW OPTION.
Enter Option Label (Title)
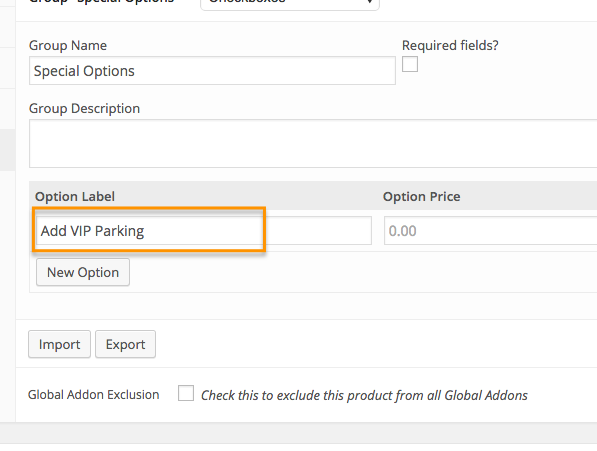
Enter the text for your checkbox under the OPTION LABEL.
Assign Optional Pricing
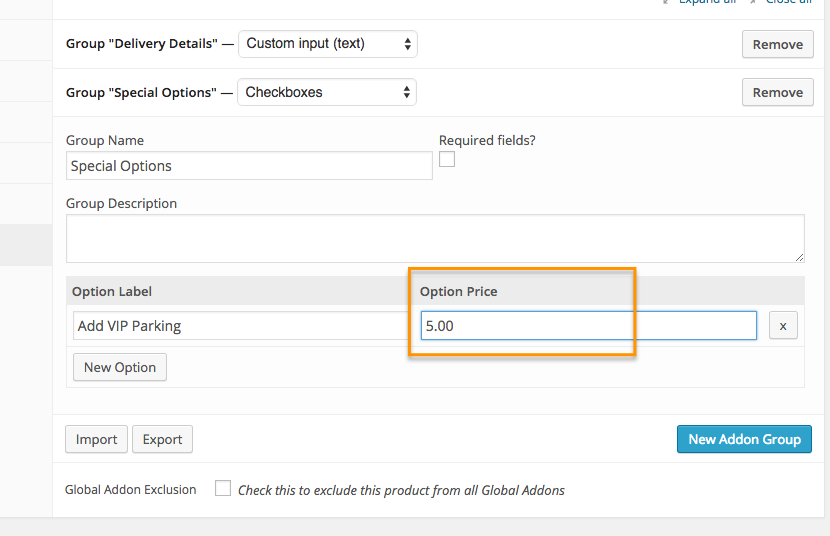
In our example, we want to charge an extra $5.00 if you add the VIP parking option. To do that, we assign an OPTION PRICE to the row.
Check your Work

When you are ready PUBLISH/UPDATE your product and check it out on the live site.
Check your Cart
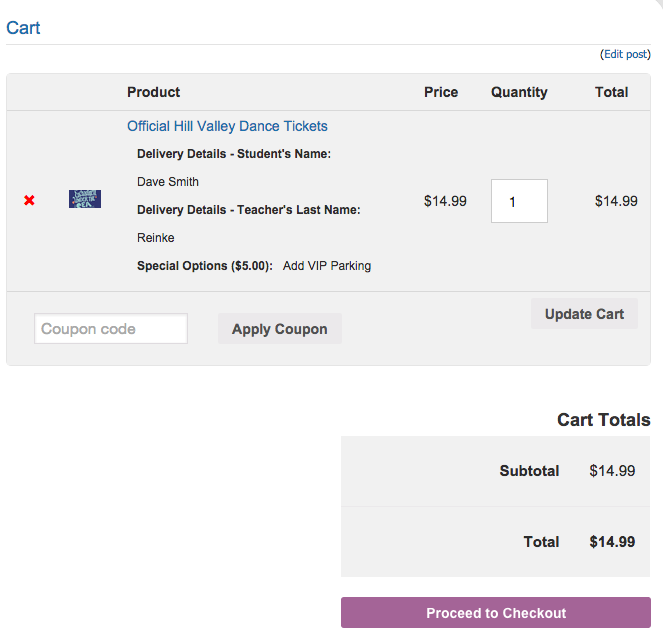
Finally, add your product to your cart with fake information to make sure it looks ok in there as well.
More Information about Product Add-ons
The Product Add-On plugin is very powerful and can do a lot of things. We have covered just a few of the basics to get you started. Feel free to play around, test things out and determine what best fits your needs!
For more info, you can also visit the official website for this plugin at: http://docs.woothemes.com/document/product-add-ons/
