Adding a Gallery of Images to a Page or Post
Occasionally you may want to display an entire gallery of images with one of your News Posts or on an Info Page. This can be especially useful to highlight an event that your Parent Group sponsored or participated in. This tutorial will explain how to add a gallery to one of your pages.
Step 1: Open a Page/Post and Select the Location

Open up a Page or Post that you wish to insert an Image Gallery in and then click in the location you want to add the gallery. it is typically best to add the gallery to the END of the page or post you are working with, but it’s up to you.
Step 2: Click the Add Media Button

Click the ADD MEDIA Button to open the Media Library.
Step 3: Go to Upload Files and Upload your Images
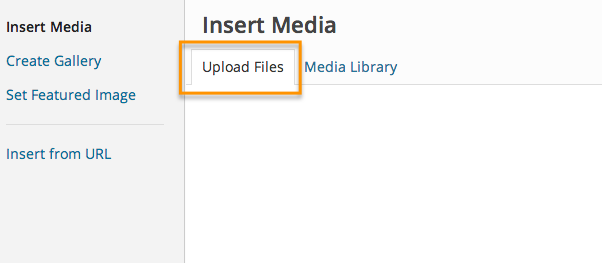
Click the UPLOAD FILES Tab (if it’s not selected already) and begin to upload your images. You can upload more than one image by returning to the UPLOAD FILES tab after each image uploads. You can also drag a group of images to the screen to upload multiple at once.
Step 4: Click the Create Gallery Link

After you have uploaded all of the images you wish to use, click the CREATE GALLERY link to the left of the media files. You will see checkmarks next to all of the images you uploaded. If you wish to add additional images that have already been uploaded, simply click on them to add them. To remove an image that is already checked, click it again and it will not be included.
Step 5: Click the Create a New Gallery Button

Once you have selected all the images you wish to add to your Gallery, click the CREATE A NEW GALLERY Button.
Step 6: Edit and Arrange your Photos

If you would like to change the order of your photos, you can drag them around to arrange them. Additionally, you can specify on the right side where you would like the images to link (we suggest MEDIA FILE) and how many columns you would like displayed. Our favorite is 4 columns.
If you want to add more photos to your gallery, click the ADD TO GALLERY link on the left. You can also add captions to your images if you would like to do that. This is optional.
When you have finished arranging and editing your options, click the INSERT GALLERY button in the lower right.
Step 7: Publish your Gallery
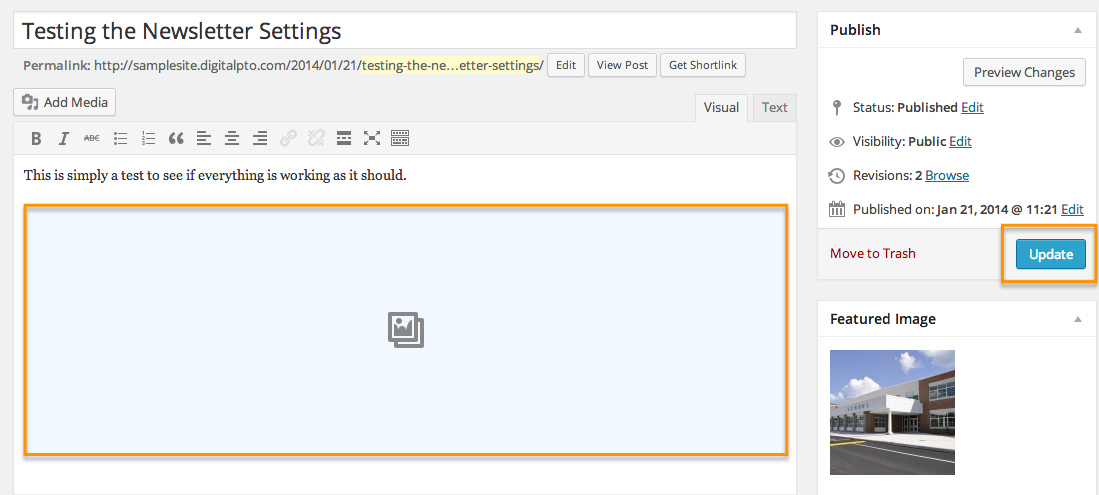
After you click the Insert Gallery Button, you will be taken back to your post and you will see a large graphic specifying where you gallery will be. You will not see the actual photos in the gallery in your editor. Click the Publish or Update Button to save your new gallery.
Step 8: Check out your Gallery!
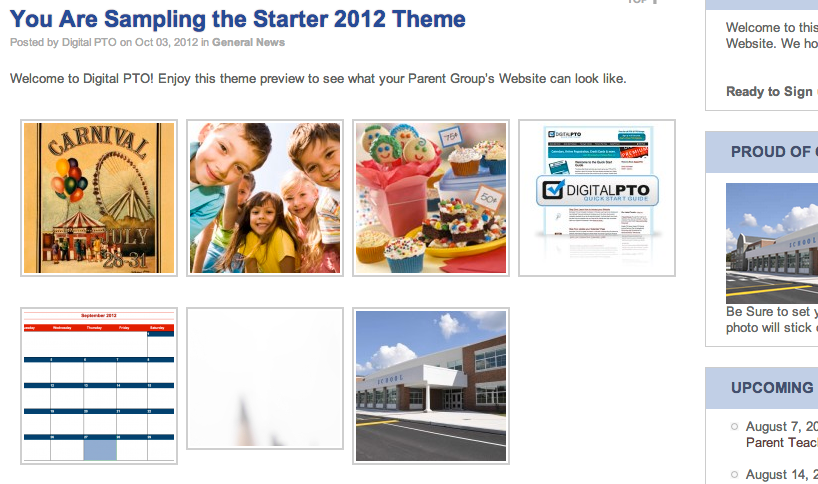
Be sure to visit your live site to view your gallery and all of its glory!
Need to Make Changes?
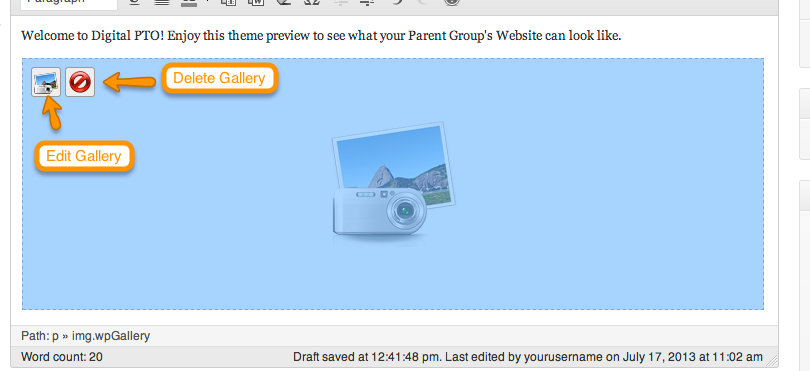
If you want to make changes to your Gallery after it has been added to your page, click on the large gallery icon and you will see an edit option that looks like a photo of a mountain. Click that to return to the Gallery Edit Screen. You can also click the Delete Icon if you wish to remove the gallery. This will not remove the images from your Media Library, it only deletes the gallery from your page.
